What to set up first
A checklist of the setup-order steps a new institution needs before daily use.
Before your school can take attendance, collect fees, or run an exam, a few setup steps need to happen first. This page lists them in the order that makes sense for a brand-new institution.
Prerequisites
Super Admin or Institution admin. Most of these steps are locked to those roles.
The setup checklist
Work through these roughly in order. Later steps often depend on earlier ones (you can't set fee prices before your classes exist, for example).
- Provision the institution. A platform Super Admin runs the Institution Onboarding wizard to create your school in FEMS: campuses, an academic session, schools and classes, and the first admin user. If your school is already provisioned and you have a login, skip to step 2.
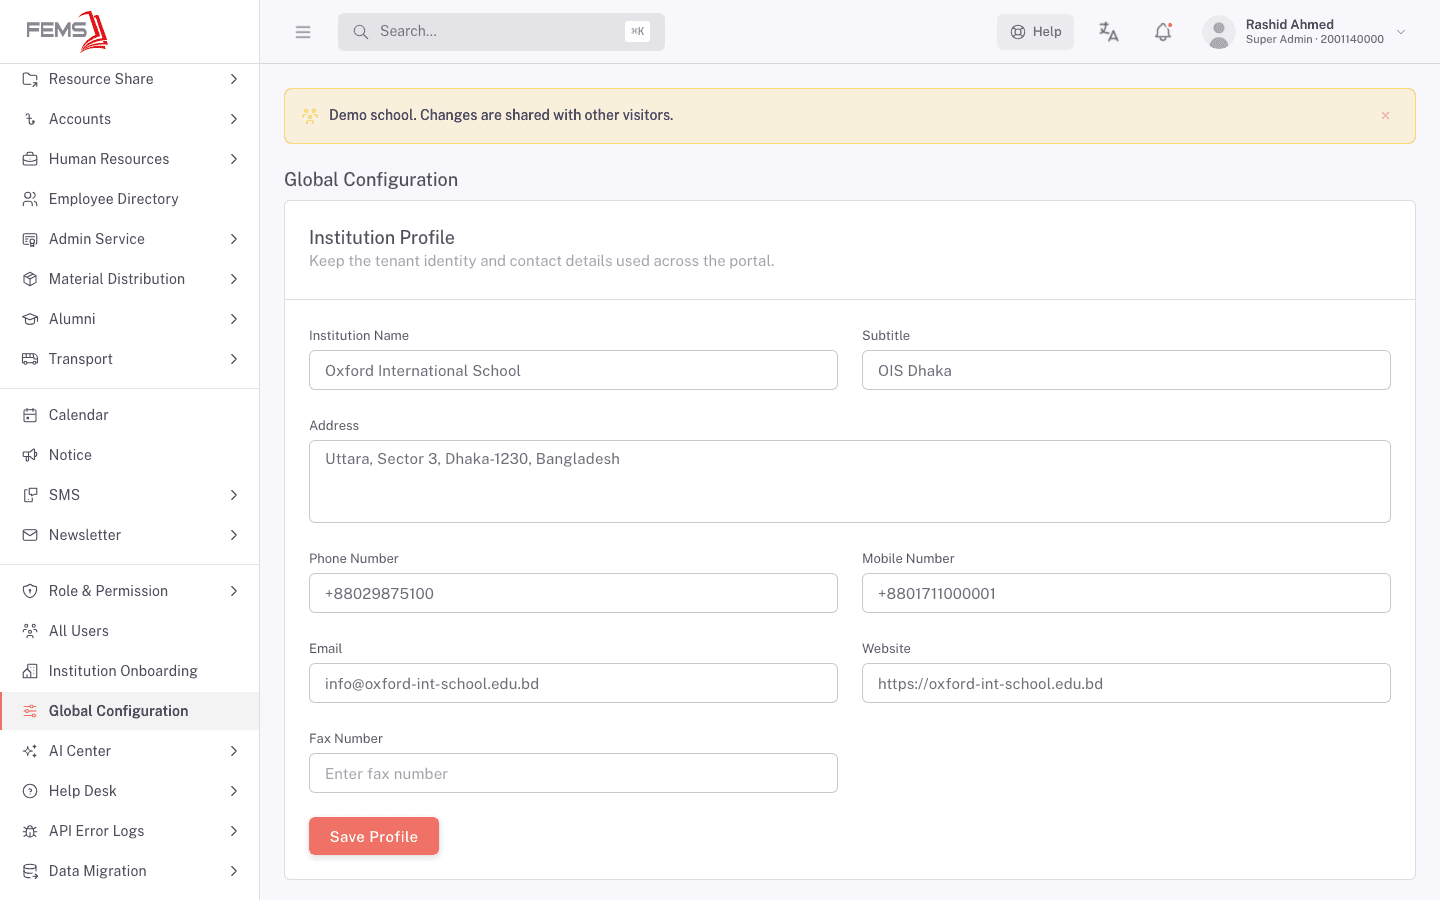
- Set your institution profile. Under Global Configuration, fill in your school's name, address, phone, email, and website. Other parts of FEMS (letterheads, receipts, printed documents) pull from this record, so get it right early.
- Set up roles and permissions. Under Role & Permission, review the built-in roles or create your own, then decide who gets access to what. Do this before you add a lot of staff, so new accounts land in the right role from day one.
- Add your staff accounts and scope their access. Still under Role & Permission, add your staff to roles and, if needed, scope individual users to specific campuses or classes.
- Configure add-on services, if your school offers them. Under Admin Service, set up any paid extra services (beyond regular tuition) and how they can be paid for.
- Know where your technical health tools live. The API Error Logs, Bug Reports, and payment gateway logs in the sidebar help a platform Super Admin or developer troubleshoot issues later. You don't need to touch these during setup, just know they exist.
- Move on to daily-use modules. Once the above is in place, set up your academic structure (campuses, classes, sections, subjects), fee configuration, and the other day-to-day modules covered in the Modules section.
Why this order
Institution provisioning and roles come first because almost everything else in FEMS depends on them: your classes and sessions need to exist before you can bill fees against them, and your staff need the right role before they can do their part of the setup. Add-on services and technical tooling matter less on day one, so they come after the basics are in place.
FAQ
Do I have to do all of this myself? Not necessarily. A platform Super Admin usually provisions the institution and creates the first admin account. From there, your own Super Admin or institution admin can handle the rest.
What if I skip straight to a daily-use module, like Admissions? You can, but you may hit missing dropdowns (no classes, no fee heads) until the setup steps above are done. Working through the checklist in order avoids that.
Where do I configure fee prices? That's part of the Accounts module, covered once your academic structure (classes, sessions) exists. See the Modules section once those pages are available.