Recording and reviewing expenses
Save expense drafts, request approval, correct declined entries and review approved expenses.
Use Expenses & Disbursements to prepare and review a school expense. Check the account, payee and expense lines before saving or approving it.
Before you start
You need access to Accounts > Expenses & Disbursements. If Add expense is missing, ask an administrator to review your access.
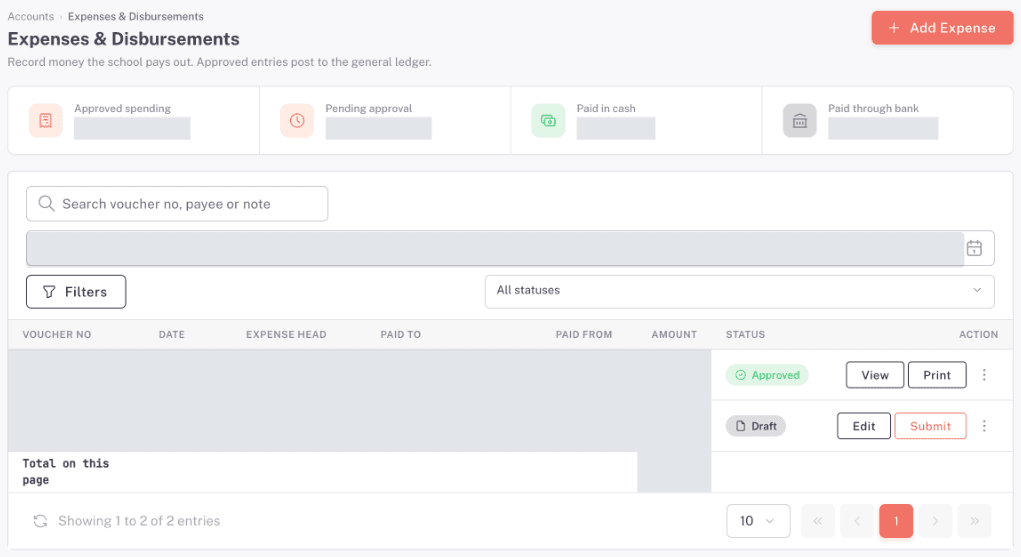
Find an expense
- Open Accounts > Expenses & Disbursements.
- Check the date range. The list opens with the current month's range.
- Use Status to show Draft entries.
- Select Filters to narrow the list by Campus, Expense head or Payment method.
- Select Apply filters. Clear all removes the drawer filters.
The summary shows Approved spending, Pending approval, Paid in cash and Paid through bank. If the list says No expenses match these filters, clear a filter or check the date range.
Prepare the payment details
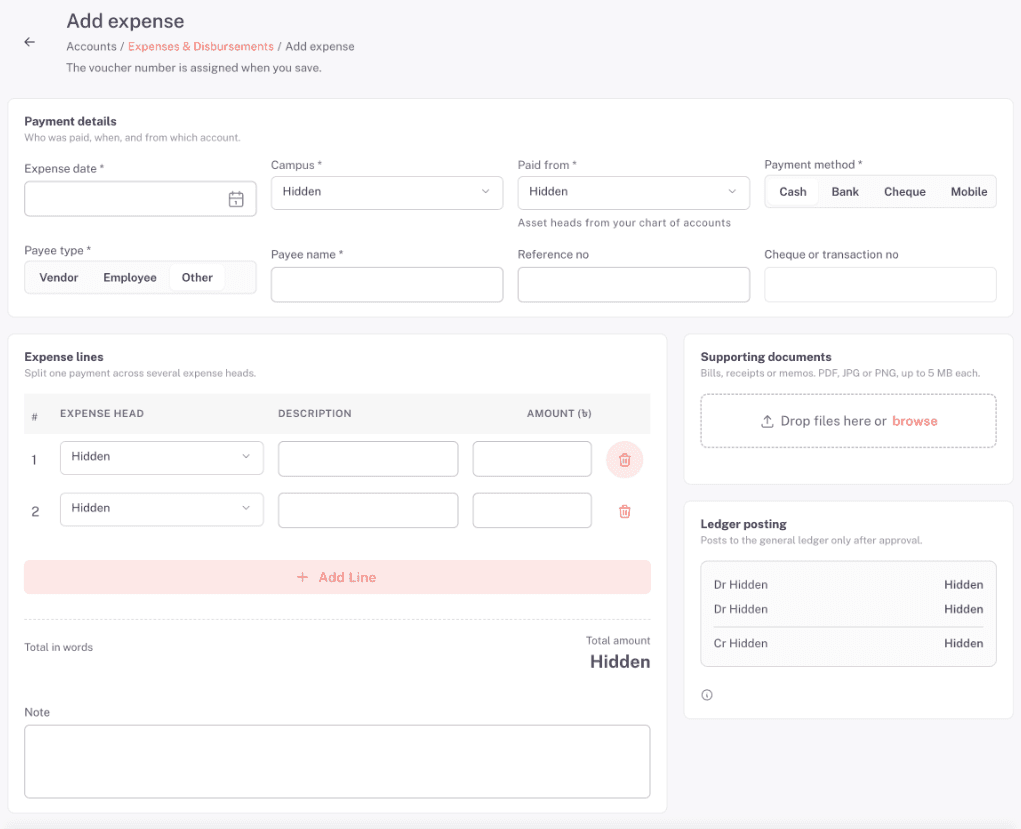
- Select Add expense.
- Check Expense date, then choose Campus and Paid from.
- Choose Cash, Bank, Cheque or Mobile under Payment method.
- Choose the Payee type. For Other, enter Payee name.
- Add Reference no when you need to identify the bill or invoice.
For Bank, Cheque and Mobile, fill Cheque or transaction no. If it is missing, the form asks you to add it before saving.
Add the expense lines
- Choose an Expense head and enter its Amount (৳).
- Use Add line when the payment covers another expense head.
- Check Total amount and Total in words. For example, lines of ৳1 and ৳3 show a total of ৳4.
- Remove an unwanted line and check the new total.
- Review Ledger posting. The form shows Dr expense lines and a Cr line for the selected paid-from account. This is an unsaved preview.
Use Note for the payment's purpose. The Supporting documents area lists PDF, JPG and PNG files up to 5 MB each.
Save and reopen a draft
- Check the payment details, expense lines and total.
- Select Save as draft.
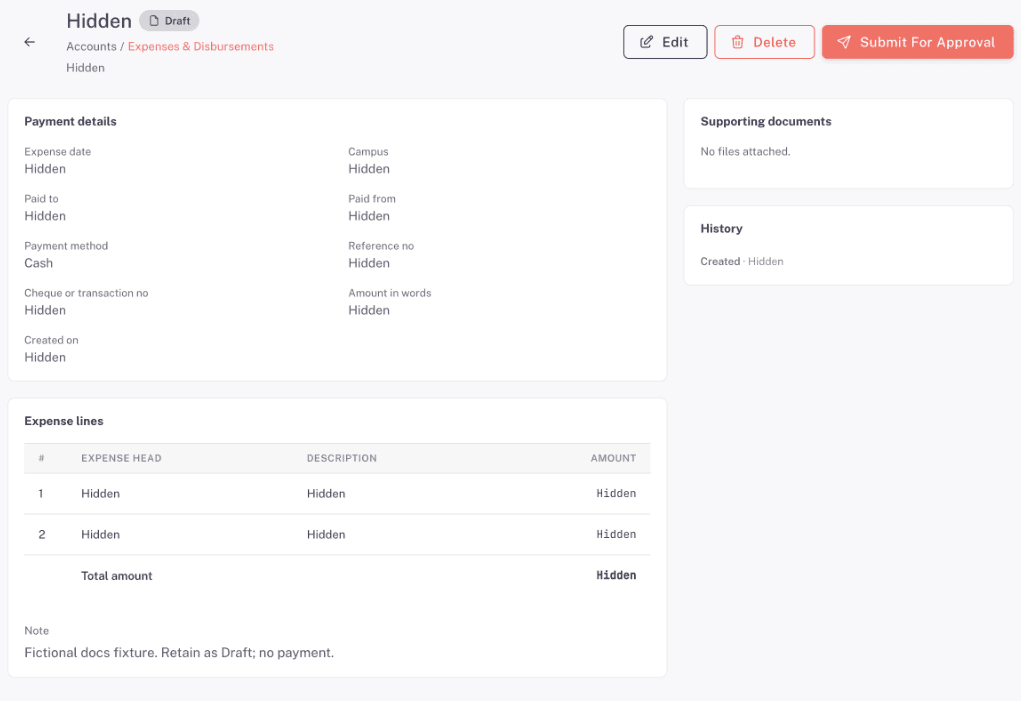
- The expense detail opens with Draft status and an assigned voucher number. Check the payment details and expense lines.
- Reload the page. The same voucher, status and values remain.
- Return to Expenses & Disbursements. If you entered Reference no, search for that reference.
- Select its voucher number to reopen the detail.
For example, lines of ৳1 and ৳3 save as a ৳4 Draft. Saving a Draft leaves approved spending, pending totals, account balances and the general ledger unchanged.
Submit a saved draft
With the required access, the Draft detail offers Edit, Submit for approval and Delete.
- Open the saved Draft and check its details and total.
- Select Submit for approval.
- Check the voucher number in the confirmation, then select Submit.
The status changes to Pending approval. You cannot edit the expense while it waits for approval. Submitting does not post the expense to the general ledger.
Correct a declined expense
With approval access, a reviewer can return a pending expense for correction:
- Open the Pending approval expense and select Decline.
- Enter Reason, then confirm Decline. The status changes to Declined and the reason appears on the detail.
With edit access, the creator can then correct it:
- Open the Declined expense and select Edit. The page heading shows the reviewer's reason.
- Correct the details or expense lines and check the total.
- Select Save as draft. The changes are saved, and the status remains Declined.
- Select Submit for approval, then confirm Submit to request another review.
Resubmitting changes the status to Pending approval and clears the current decline reason. For example, changing a ৳1 line to ৳2 alongside a ৳3 line saves a new total of ৳5.
Approve and review an expense
With approval access:
- Open the Pending approval expense.
- Check the paid-from account, payee, expense lines and total.
- Select Approve, check the amount in the confirmation, then confirm Approve.
- Check Approved status. Reload to confirm the same voucher and values remain.
Approval posts the expense to the general ledger. For example, approving lines of ৳2 and ৳3 debits those expense heads and credits the paid-from account by ৳5. Approved spending increases by ৳5; a Cash expense also increases Paid in cash by ৳5.
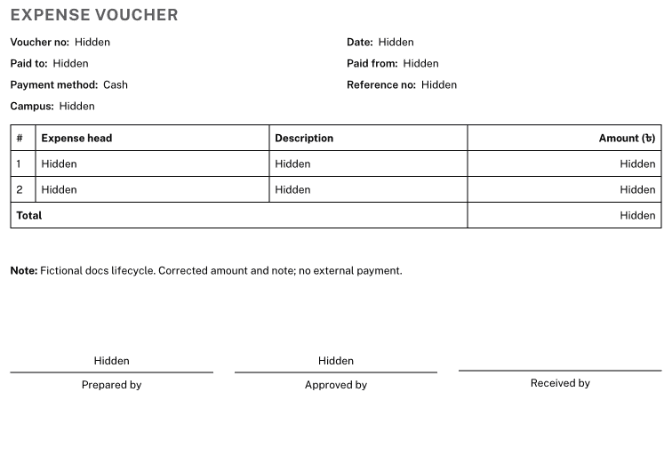
The Approved detail offers Void and Print voucher. The voucher shows the payment details, expense lines, total and Prepared by, Approved by and Received by labels.
The Void confirmation asks for a reason and warns that it posts reversing entries and cannot be undone. Select Cancel to leave the approved expense unchanged.
The form also offers Submit for approval while adding an entry. If you select Save as draft on an empty form, it shows Fix the highlighted fields, then save again. Select Cancel to return to the list while preparing an entry.
Frequently asked questions
Why can't I save the empty form as a draft?
Check the highlighted fields. The form requires payment details and an expense line even when you select Save as draft.
Why does the form ask for a transaction number?
Bank, Cheque and Mobile need Cheque or transaction no. Add the reference for that payment method, then check the other highlighted fields.
Why is the list empty after I apply a filter?
Select Clear all or change Status. Check that the date range includes the expense you want to find.
Why can't I edit a pending expense?
An expense awaiting approval cannot be edited. A reviewer with approval access can decline it with a reason so the creator can correct and resubmit it.
Why is my corrected expense still Declined?
Save as draft saves your corrections without requesting another review. Select Submit for approval and confirm Submit when it is ready.