Setting up document types and share permissions
Define the document type categories and set which employees can insert, update, delete, or share resources.
Resource Share lets your school upload official documents once and control exactly who can see them, instead of emailing files around. Before anyone uploads a document, set up the document type categories and, if you use them, employee share permissions.
Prerequisites
You need administrator access to reach these two screens.
What you'll find on this page
This page covers the two setup screens under Resource Share: Resource Type, where you define the categories documents are tagged with, and Permission Settings, where you record which employees can insert, update, delete, or share resources.
Setting up document types
Every document you upload later needs a type (for example, "HR Docs" for personnel forms). Set these up first so the type dropdown has options when someone uploads a document.
- Open Resource Share > Resource Type.
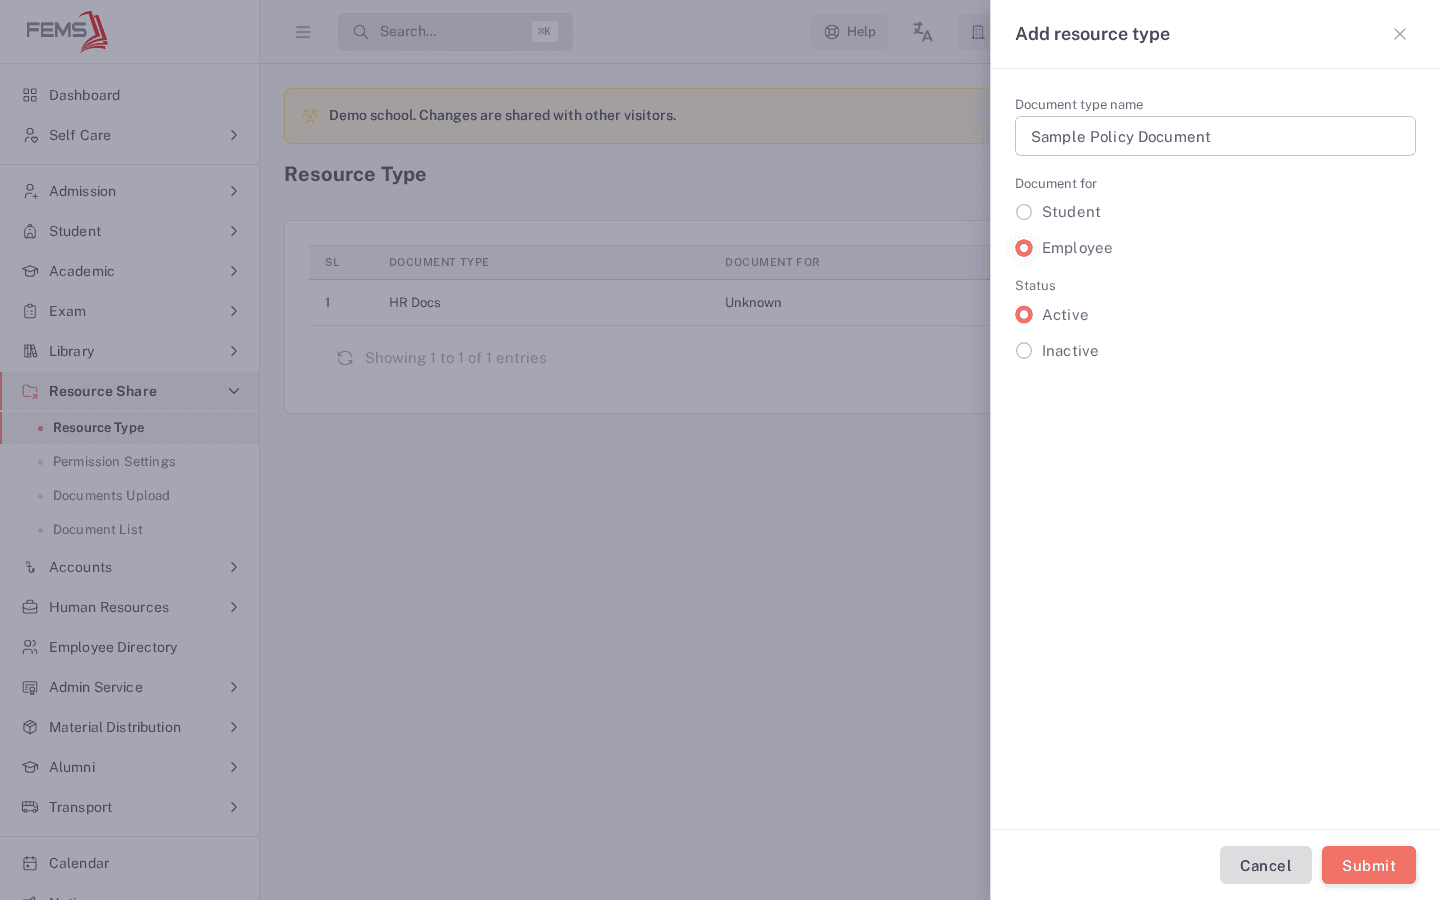
- Click Add resource type.
- Enter a Document type name (20 characters or fewer).
- Choose who the type is Document for: Student or Employee.
- Set the Status to Active or Inactive.
- Click Submit.
You'll see the new type added to the list, and a confirmation message.
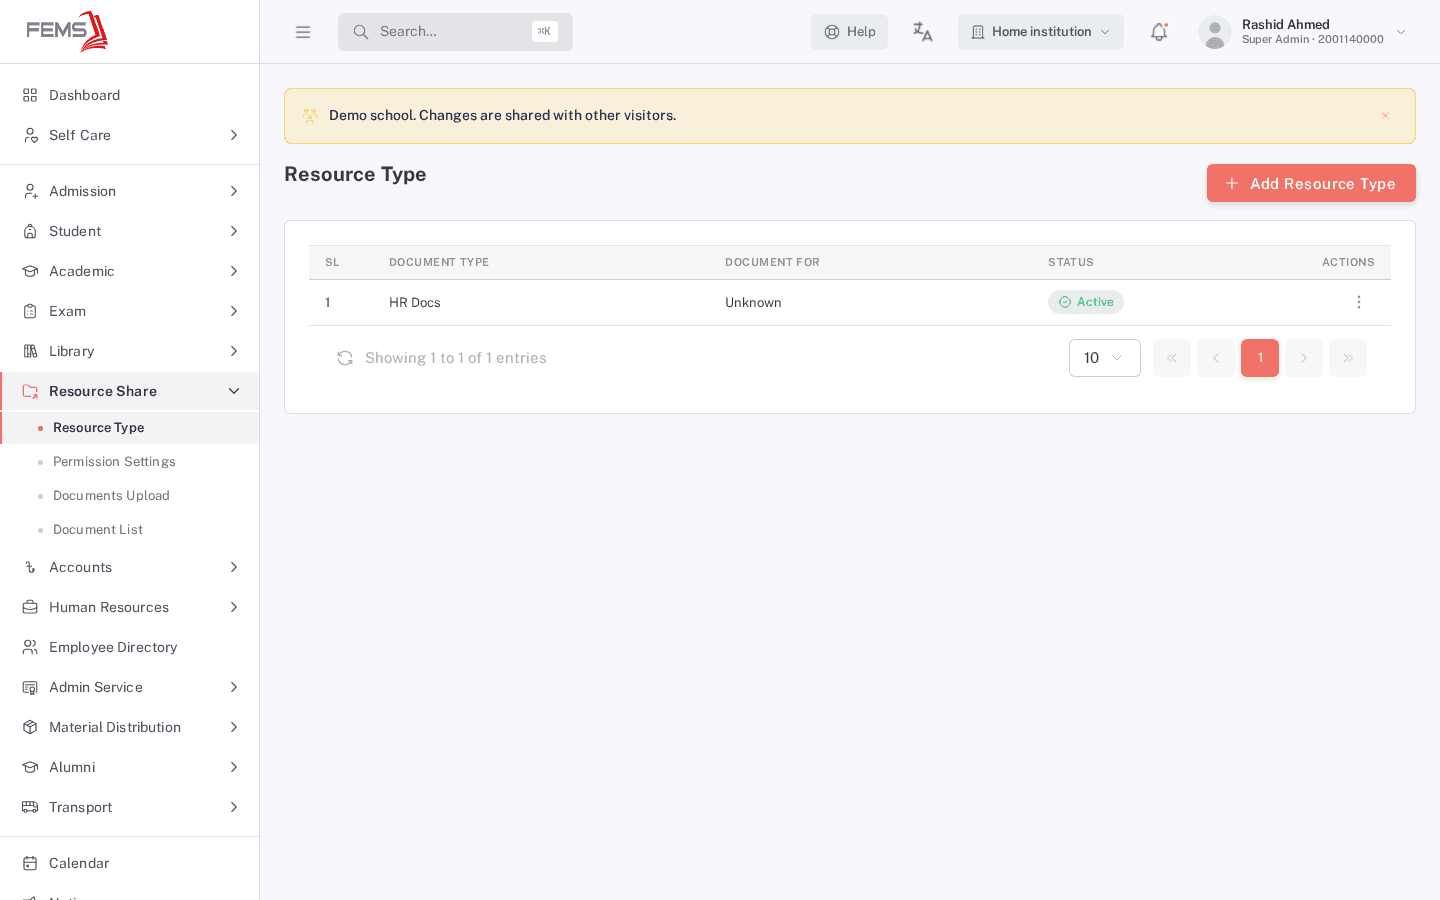
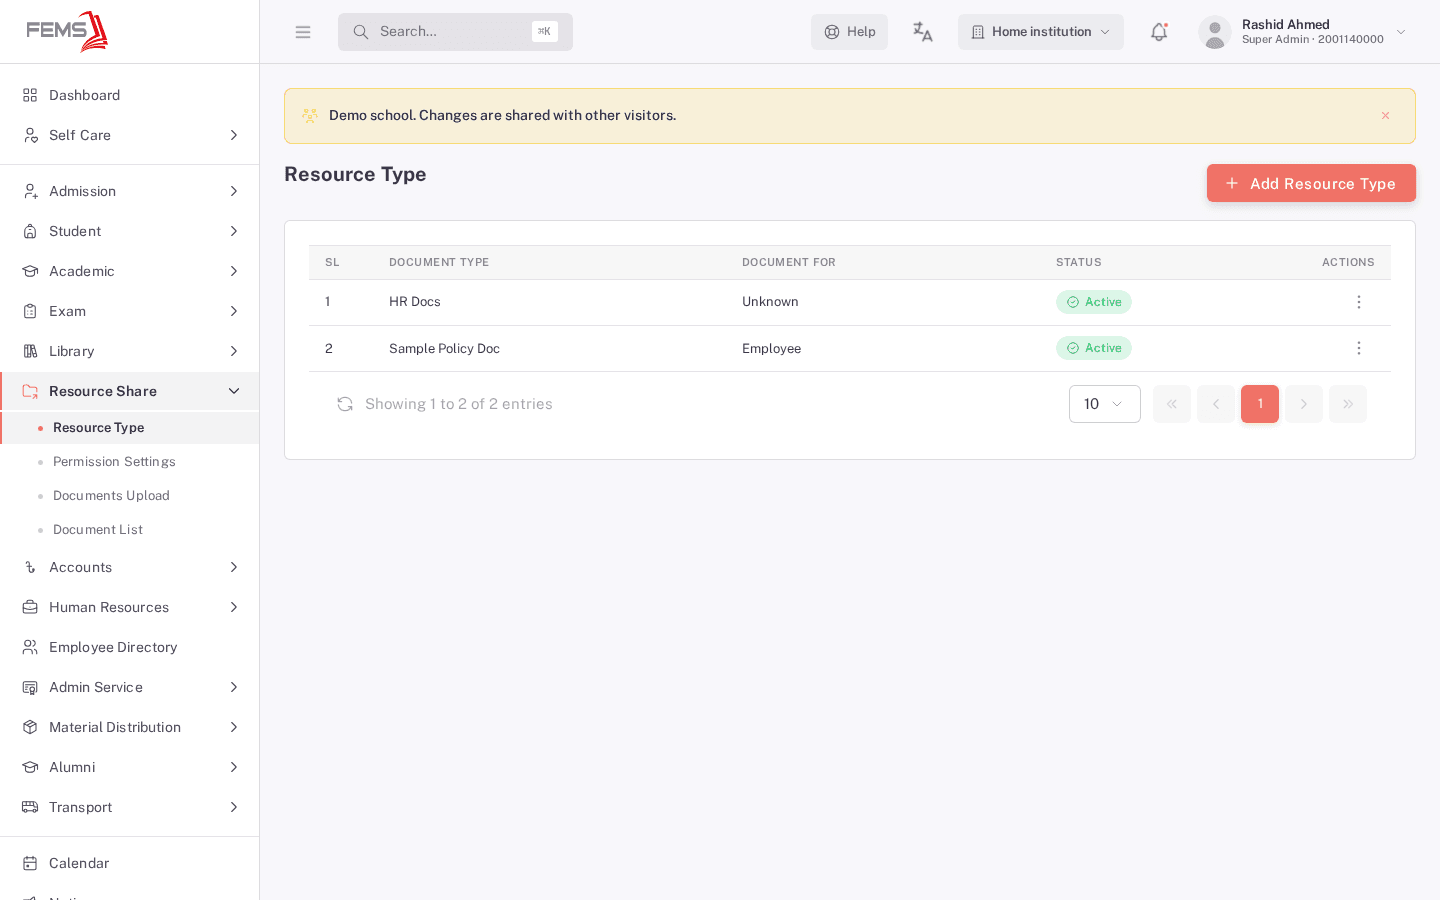
To change a type later, use the edit icon in its row; to remove one, use the delete icon and confirm.
Setting share permissions
Permission Settings records which of four actions (Insert, Update, Delete, and Share) a named employee is allowed to perform in Resource Share, plus an overall Active/Inactive status.
- Open Resource Share > Permission Settings.
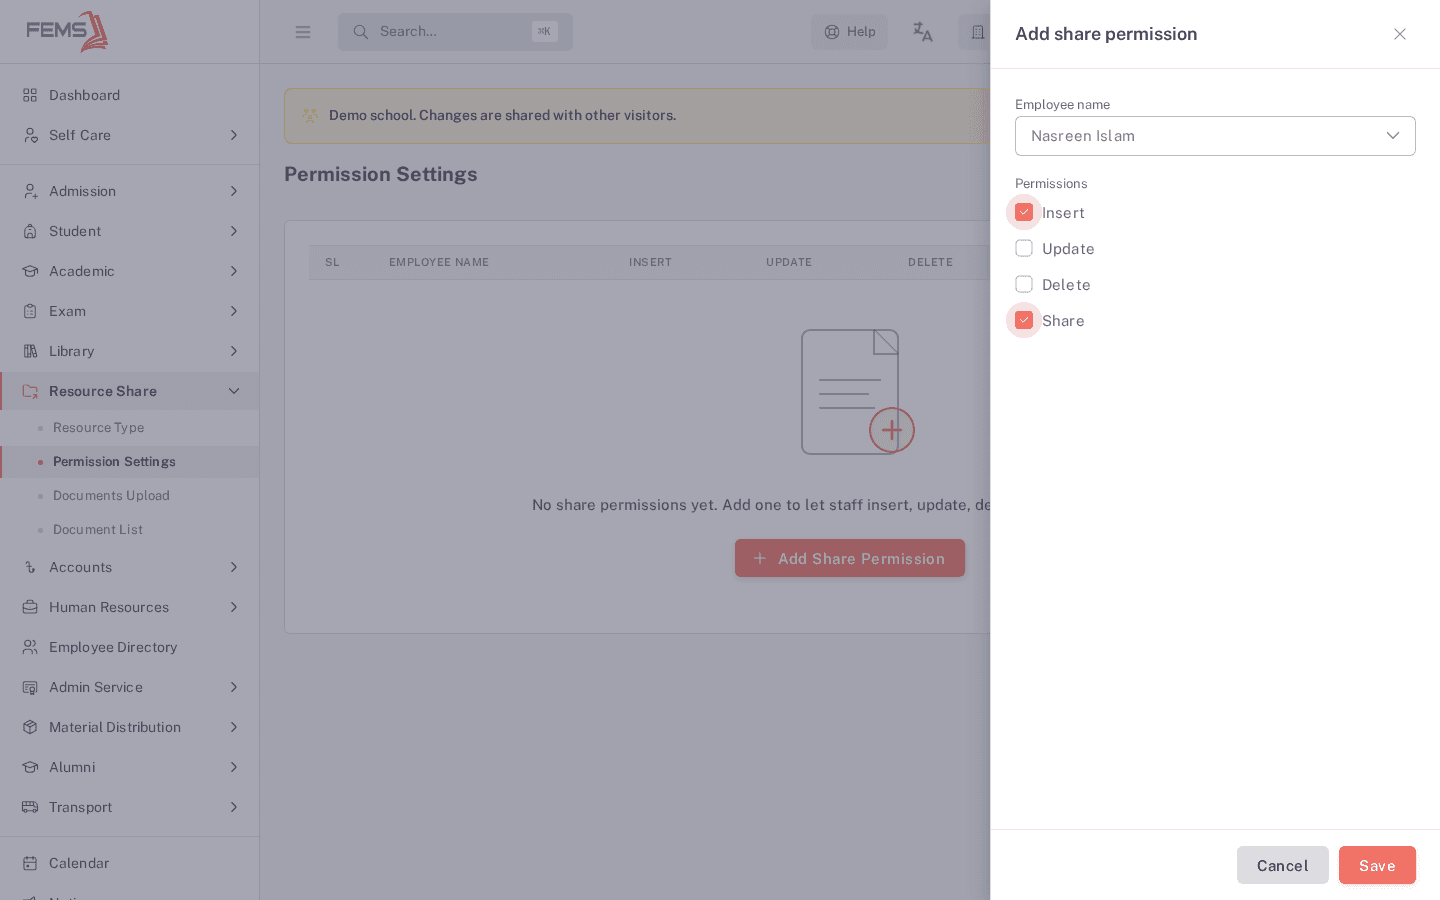
- Click Add Share Permission.
- Choose an Employee Name from the list.
- Tick the actions this employee should have: Insert, Update, Delete, Share.
- Click Save.
You'll see the employee added to the list, with Yes/No shown under each action column.
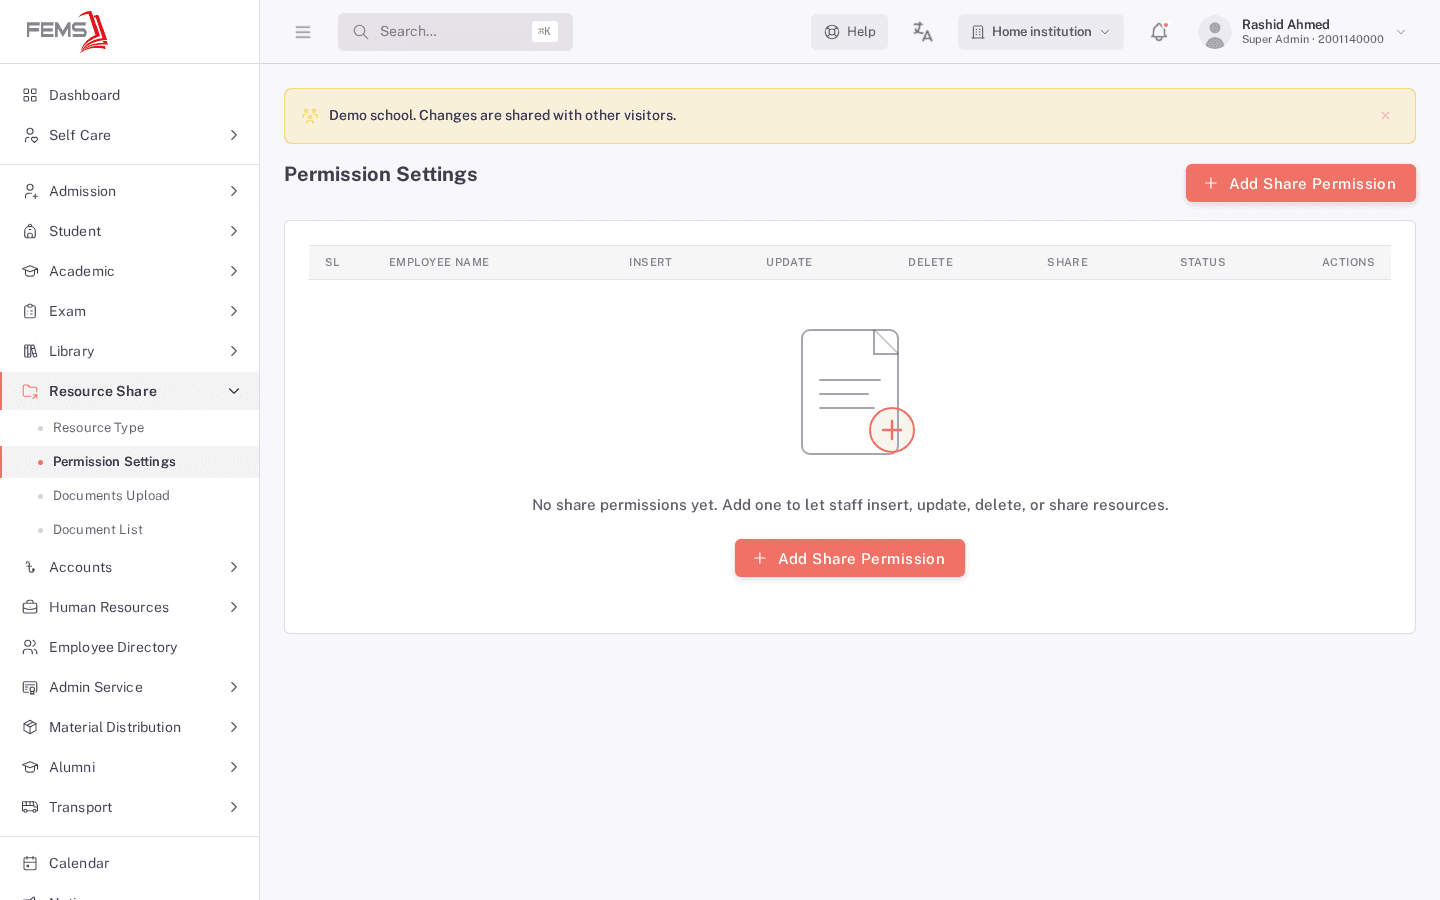
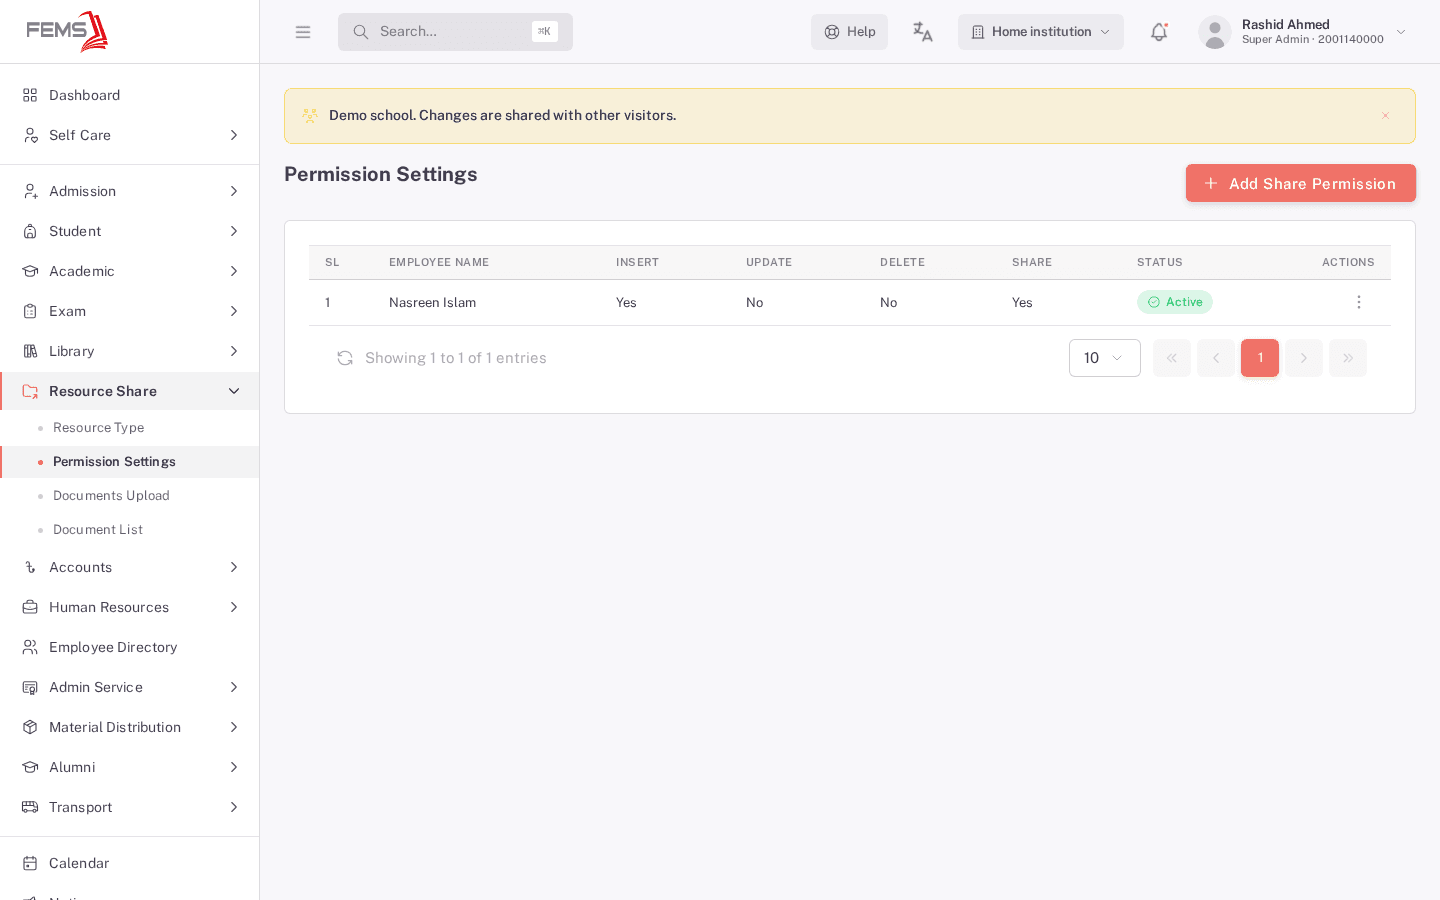
Use the Activate/Deactivate button in a row to turn an employee's permissions on or off without deleting the record, or the delete icon to remove it.
FAQ
Do I need to set up document types before uploading a document? Yes. The document type dropdown on the upload screen is built from what you add here, so create at least one type before uploading.
What does the "Document for" field control? It labels whether the document type is meant for students or employees, which helps you organize types as your document list grows.
Does a share permission entry actually restrict what an employee can do? It records the Insert/Update/Delete/Share flags you set, but confirm with your administrator whether this controls access in your setup (see the note above).
Can I reuse a document type name? Document type names are limited to 20 characters. If you get a validation message when submitting, shorten the name and try again.
Who can reach these two setup screens? Administrator access is required today.