Uploading a document and sharing it
Upload a document with its type and department, then choose which campuses, departments, designations, or individuals can see it.
Once you have a document type set up, upload the document itself and choose who can see it. This page covers uploading, sharing, and managing documents you've already uploaded.
Prerequisites
You need administrator or department-head access to upload documents. Set up at least one document type first. See Setting up document types and share permissions.
What you'll find on this page
This page covers Uploading a document, Sharing a document with specific people or groups, and Managing existing documents.
Uploading a document
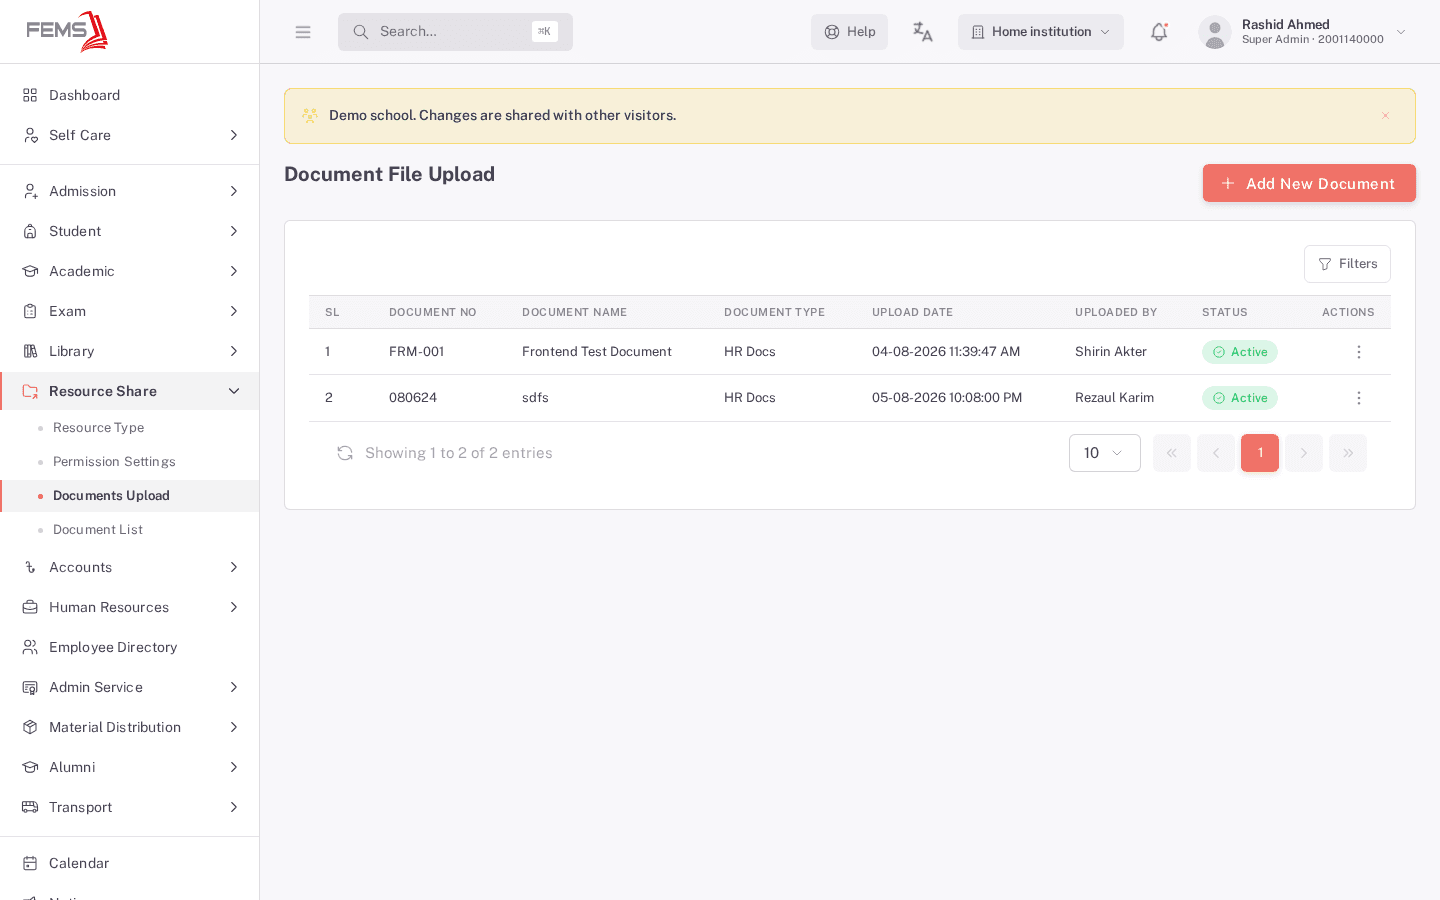
- Open Resource Share > Documents Upload.
- Click Add New Document.
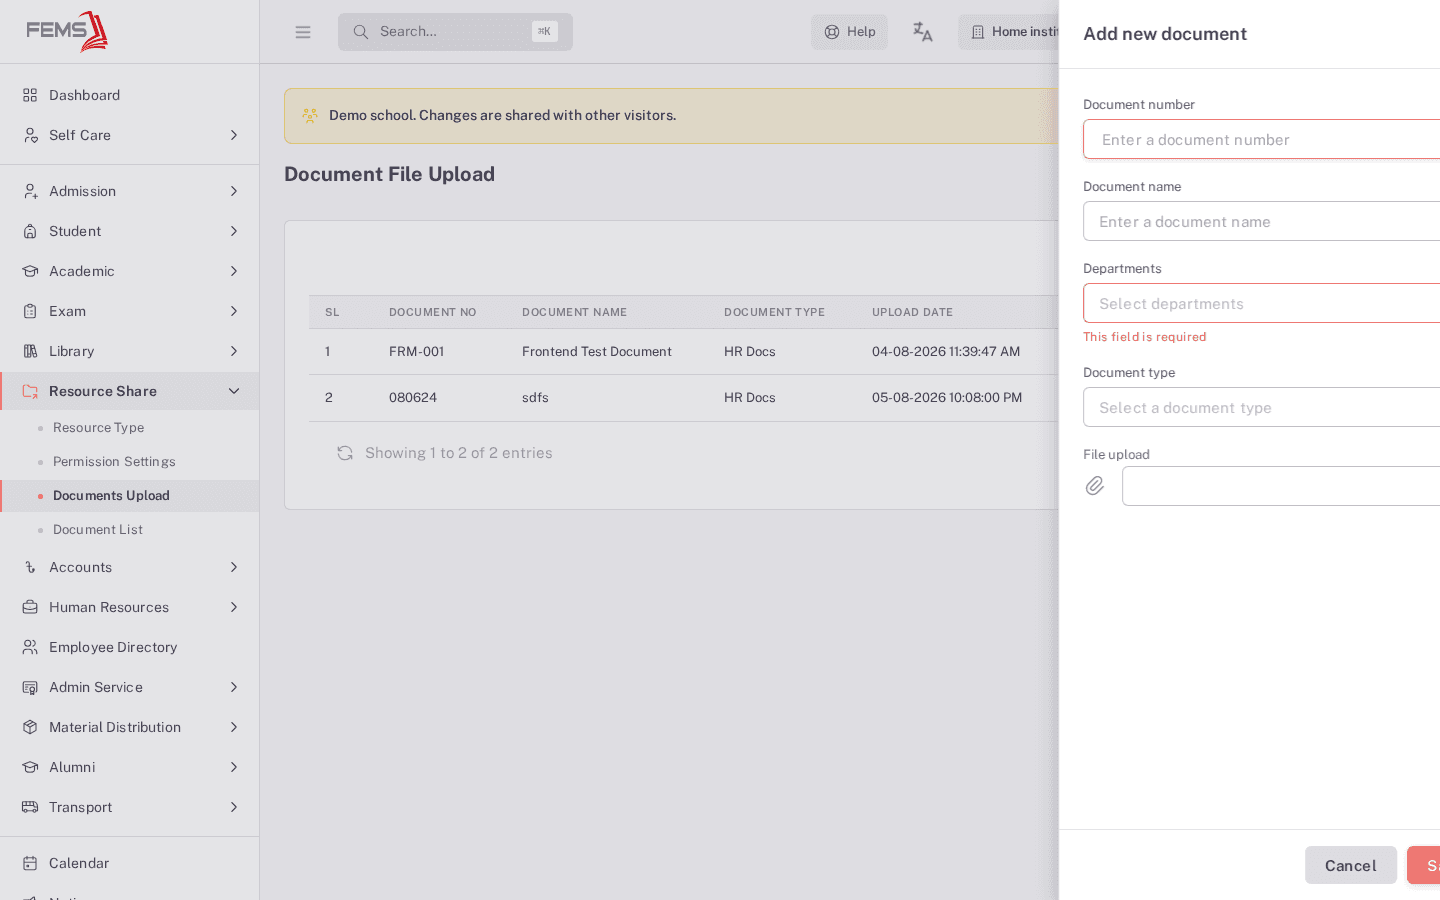
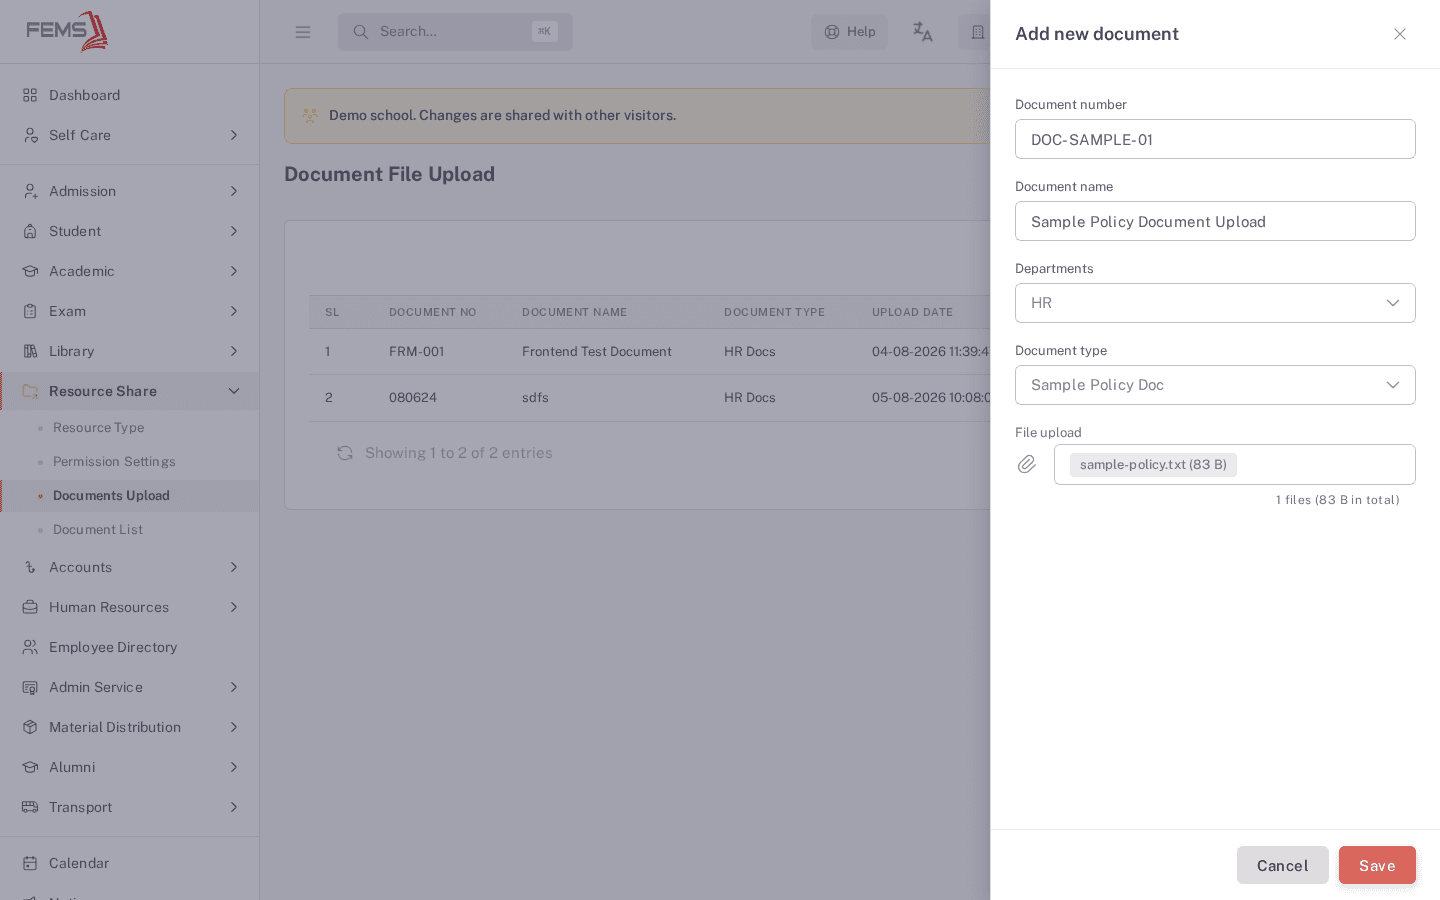
- Enter a Document number and Document name.
- Choose one or more Departments.
- Choose a Document type from the list you set up earlier.
- Attach the file under File upload.
- Click Save.
Sharing a document
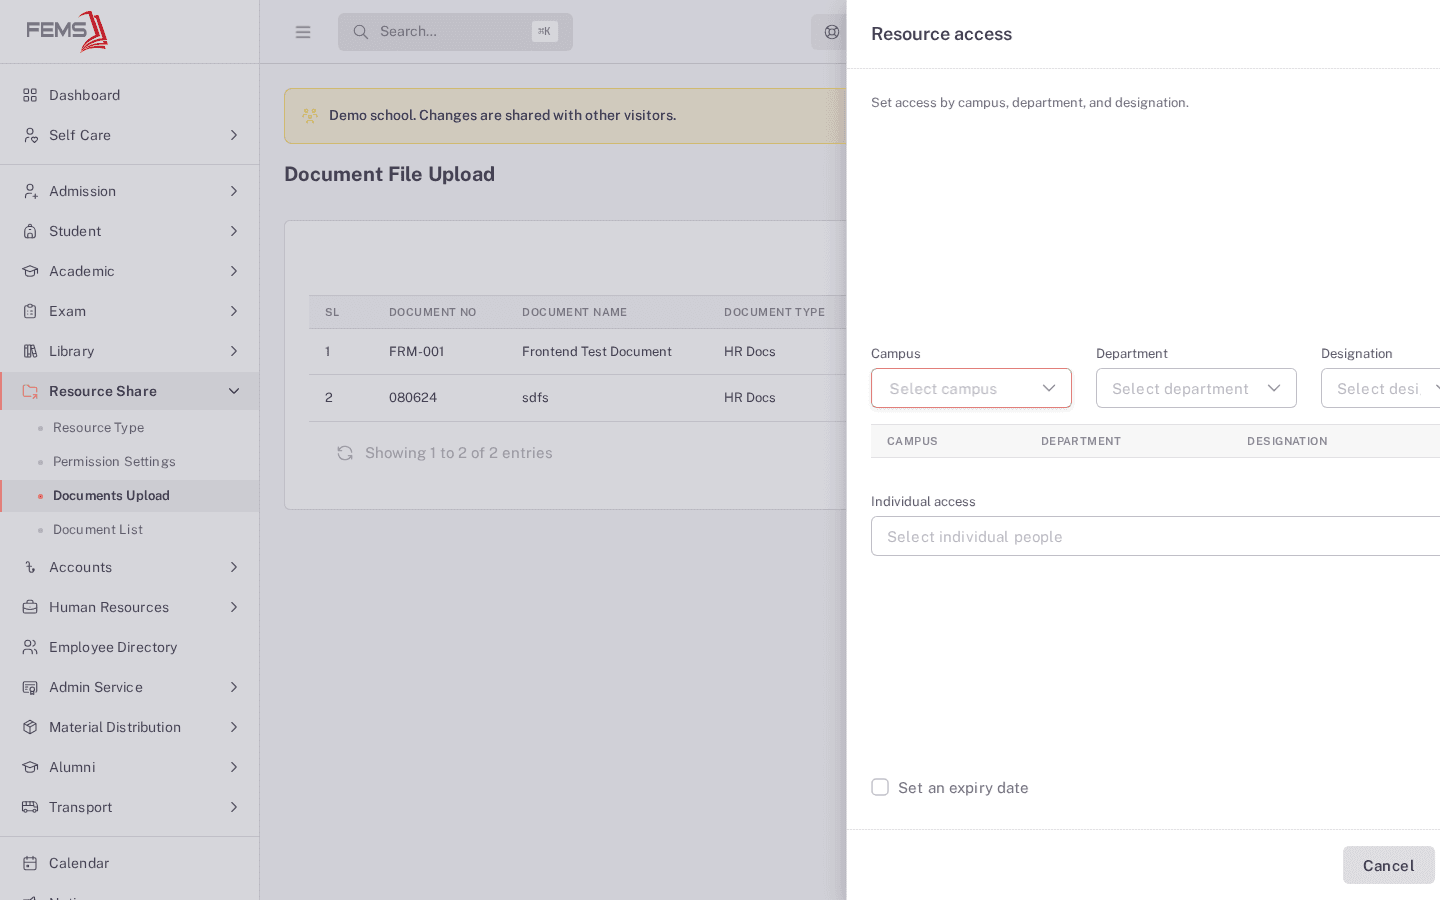
Use Share on any document's row to control who can see it: by campus, department, and designation, by individual person, or both, with an optional expiry date.
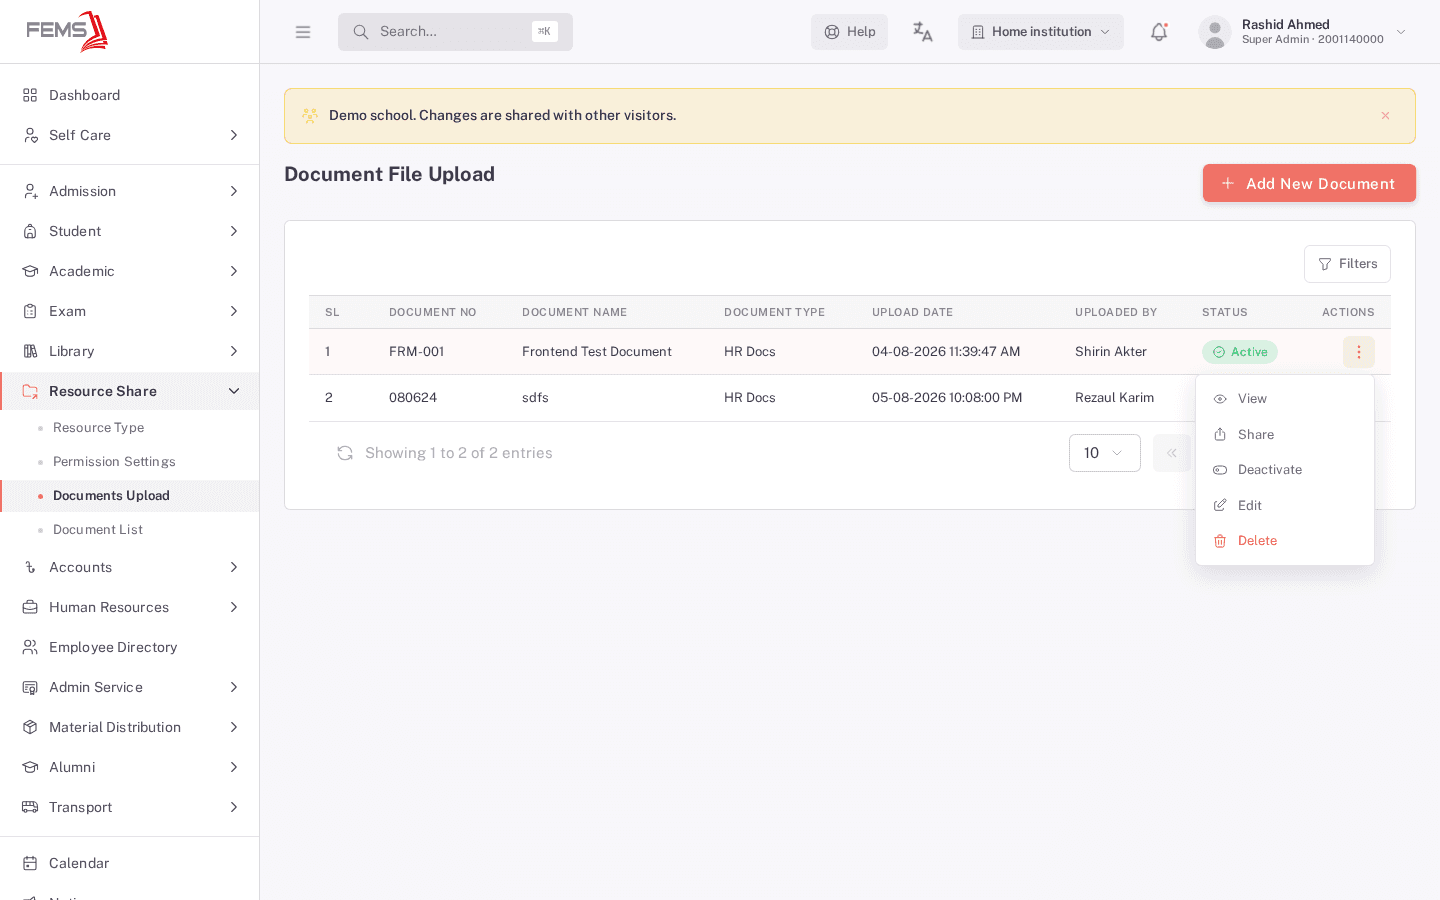
- Click the row actions menu (⋮) next to a document, then Share.
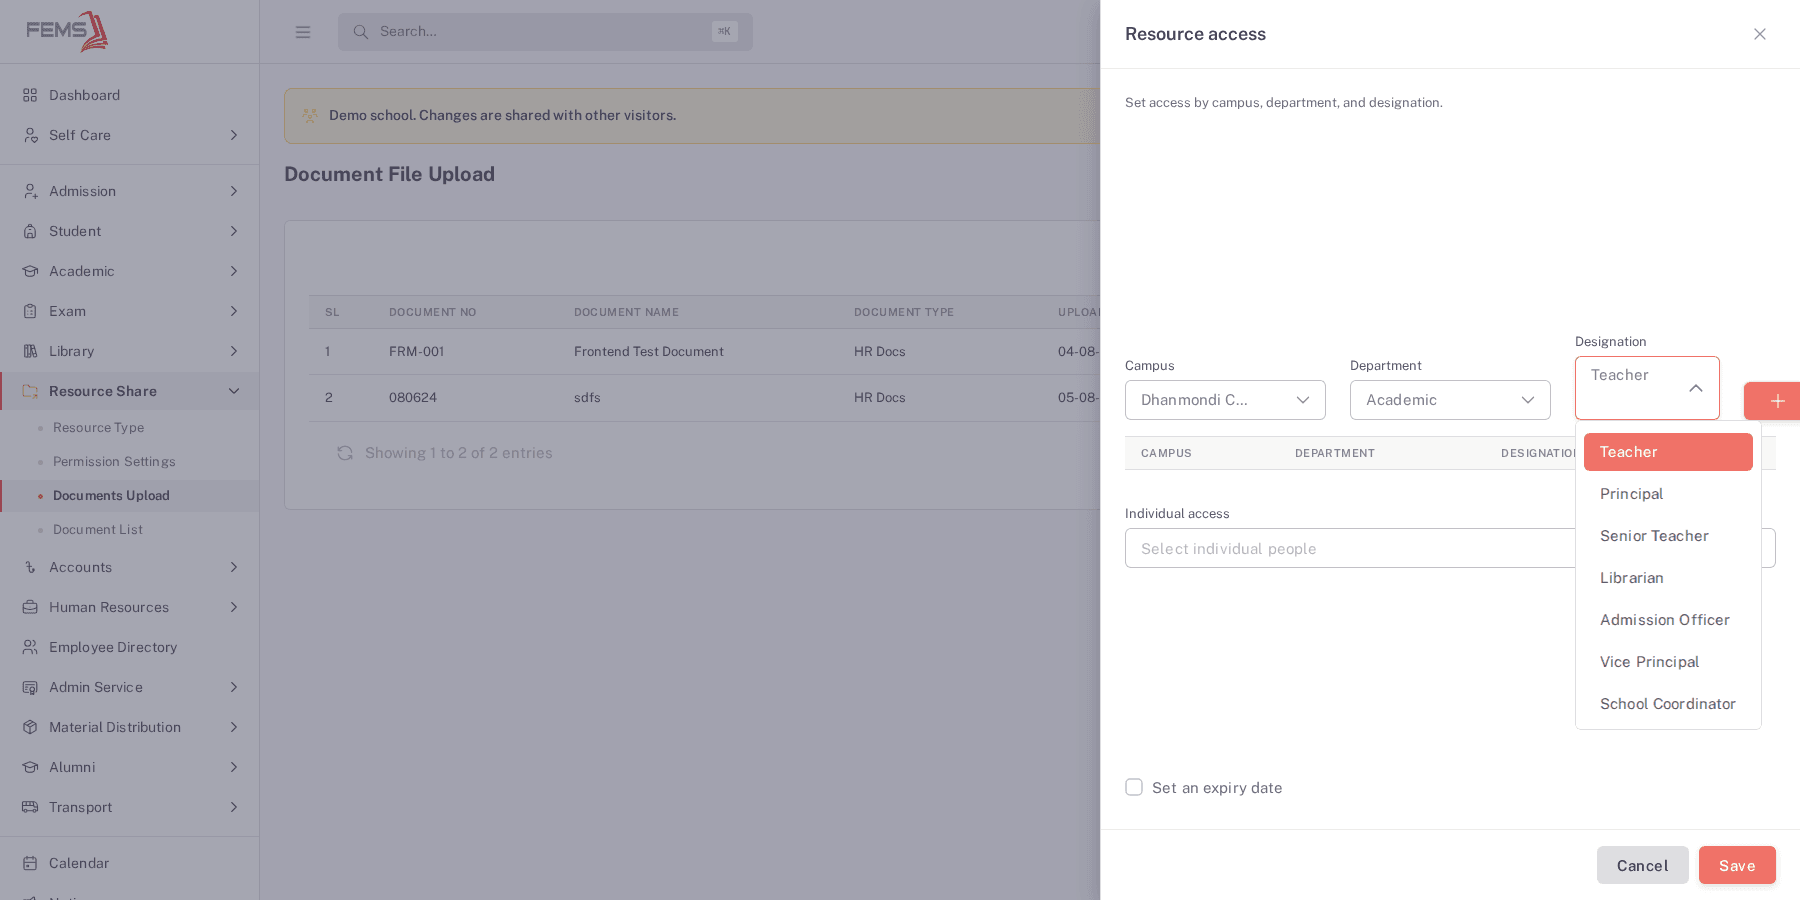
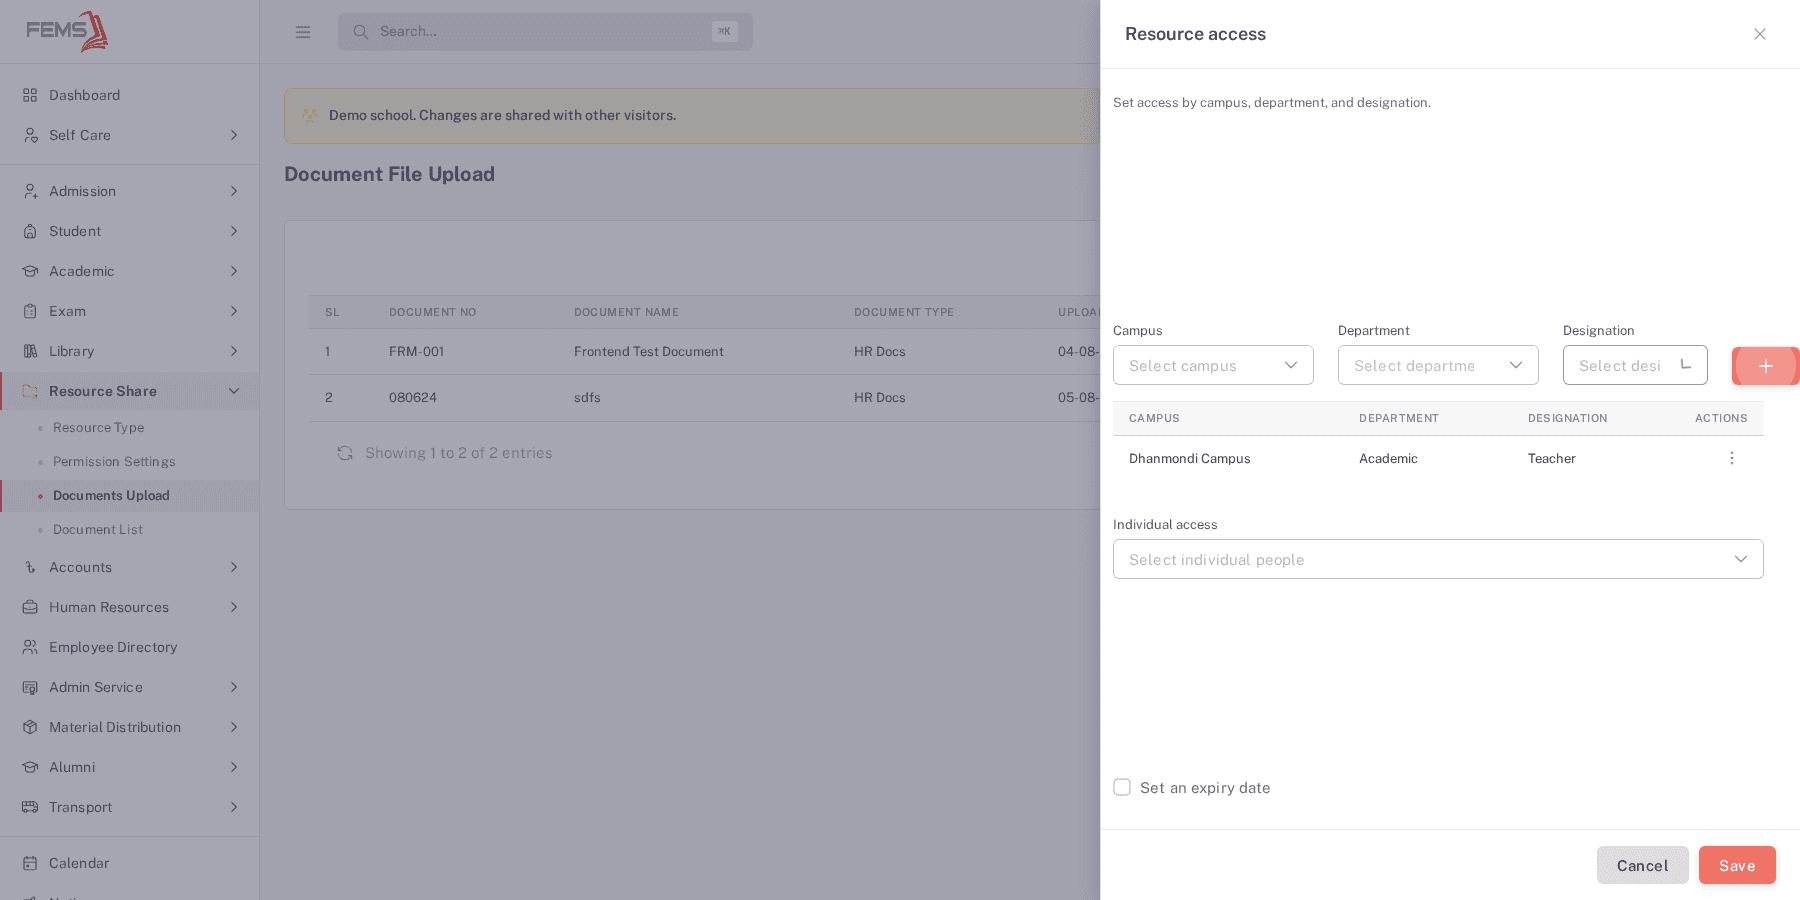
- Choose a Campus, Department, and Designation, then click the + button to add that combination as an access group. Repeat for more groups.
- Optionally, search and select people directly under Individual access.
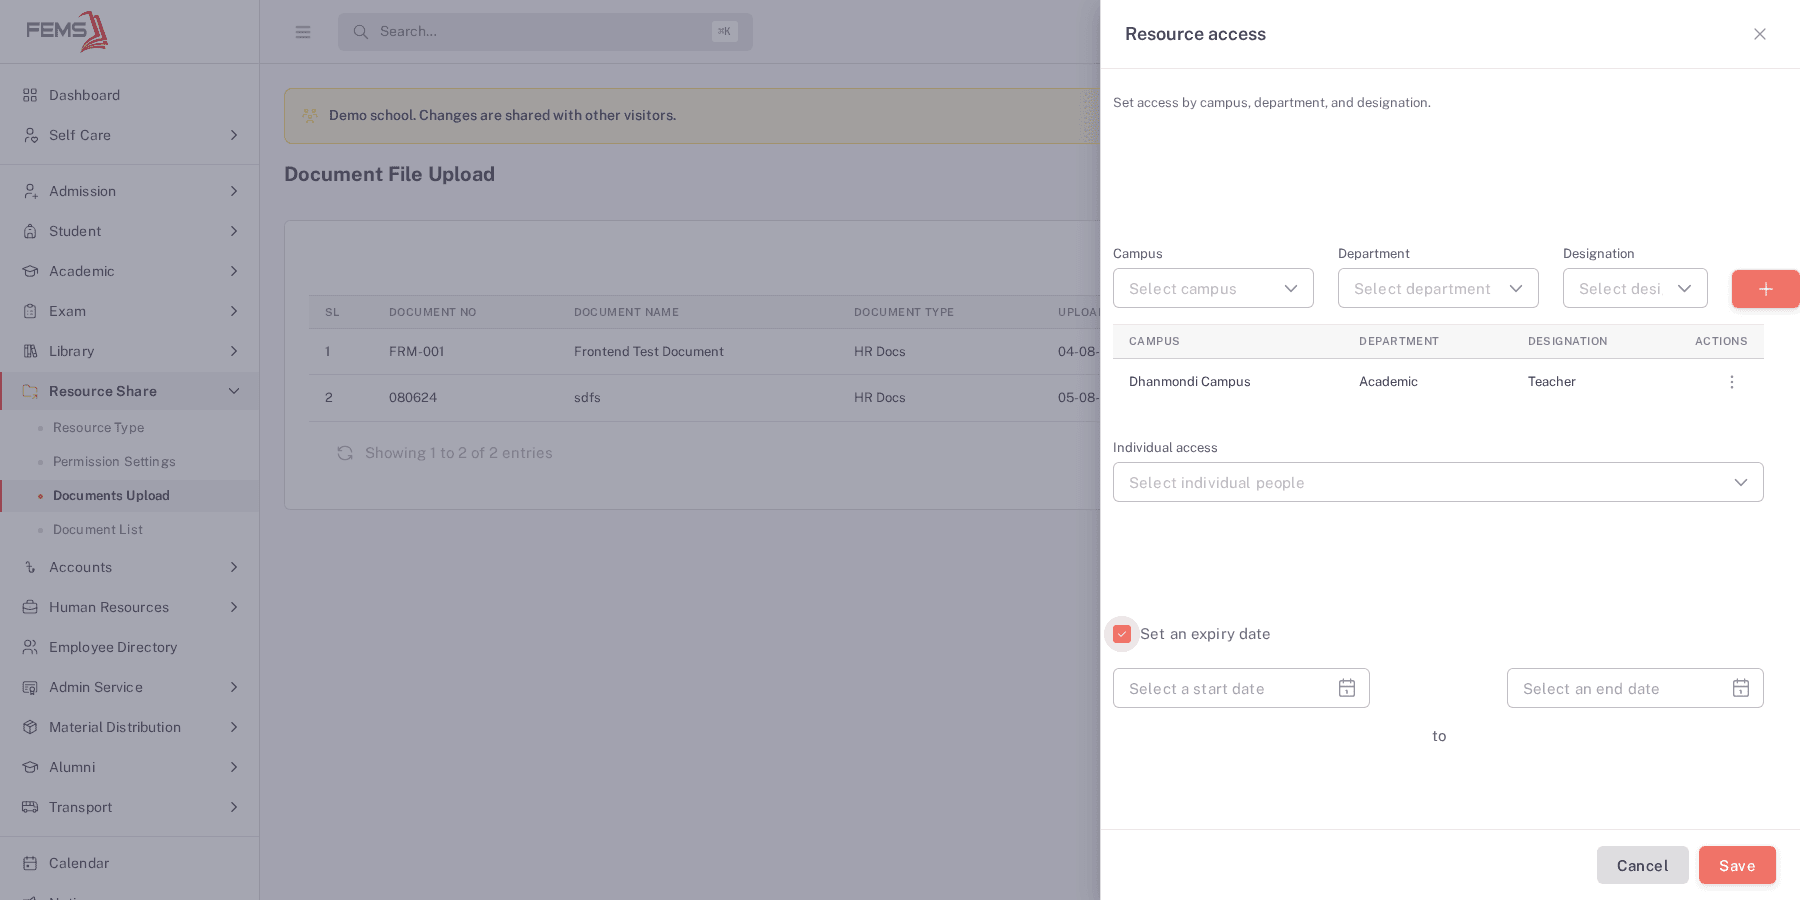
- Optionally, tick Set an expiry date and choose a start and end date to limit how long the access lasts.
- Click Save.
Managing existing documents
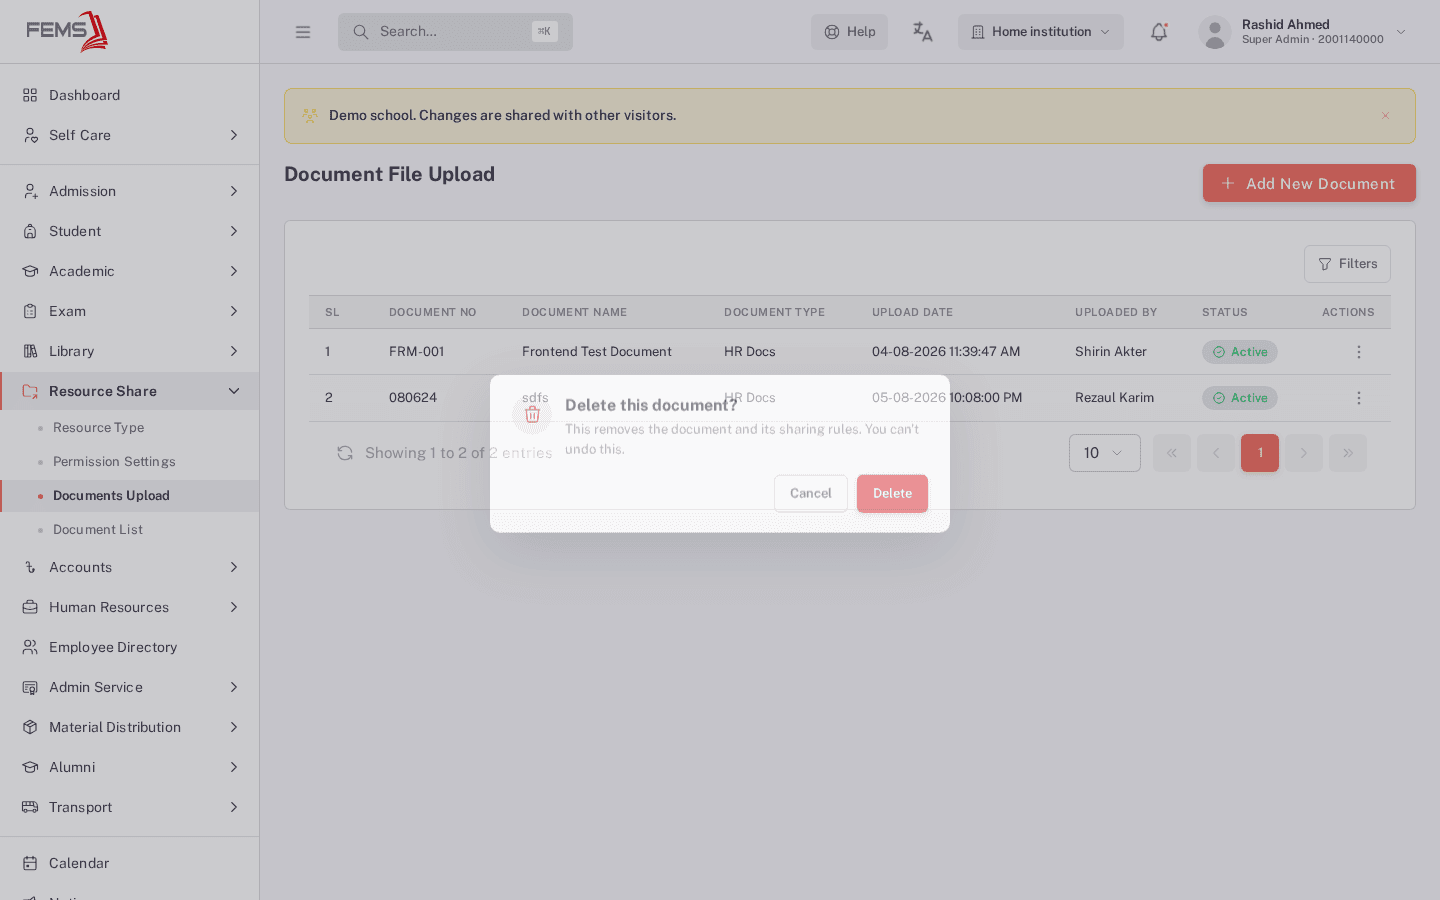
Use the row actions menu on any document to View the file (only available once it has a link), Deactivate it, Edit its details, or Delete it.

FAQ
Do I need to create a document type before uploading? Yes. See Setting up document types and share permissions.
Who can see a document I haven't shared yet? It hasn't been confirmed whether the module restricts viewing before you share it. Check with your administrator whether unshared documents are visible to other staff in your setup.
Does sharing a document remove it from view for everyone else? No. Sharing adds who can see the document. It doesn't restrict people who already had access through other means.
What happens when a shared document's expiry date passes? This hasn't been confirmed live yet. Check with your administrator until it's verified, rather than assuming access is automatically removed.
Why is the View button disabled on some documents? The document doesn't have a link yet. Check back after the upload finishes processing, or re-upload the file.