Composing and scheduling a newsletter
Choose newsletter recipients, prepare the content, schedule it, and review newsletter history.
Newsletters send school updates to groups, selected people, or email addresses. Check the audience and send time carefully before you save because this is an outbound message.
Prerequisites
You need access to Newsletter. You also need Newsletter Config access to manage employees who receive every newsletter by default.
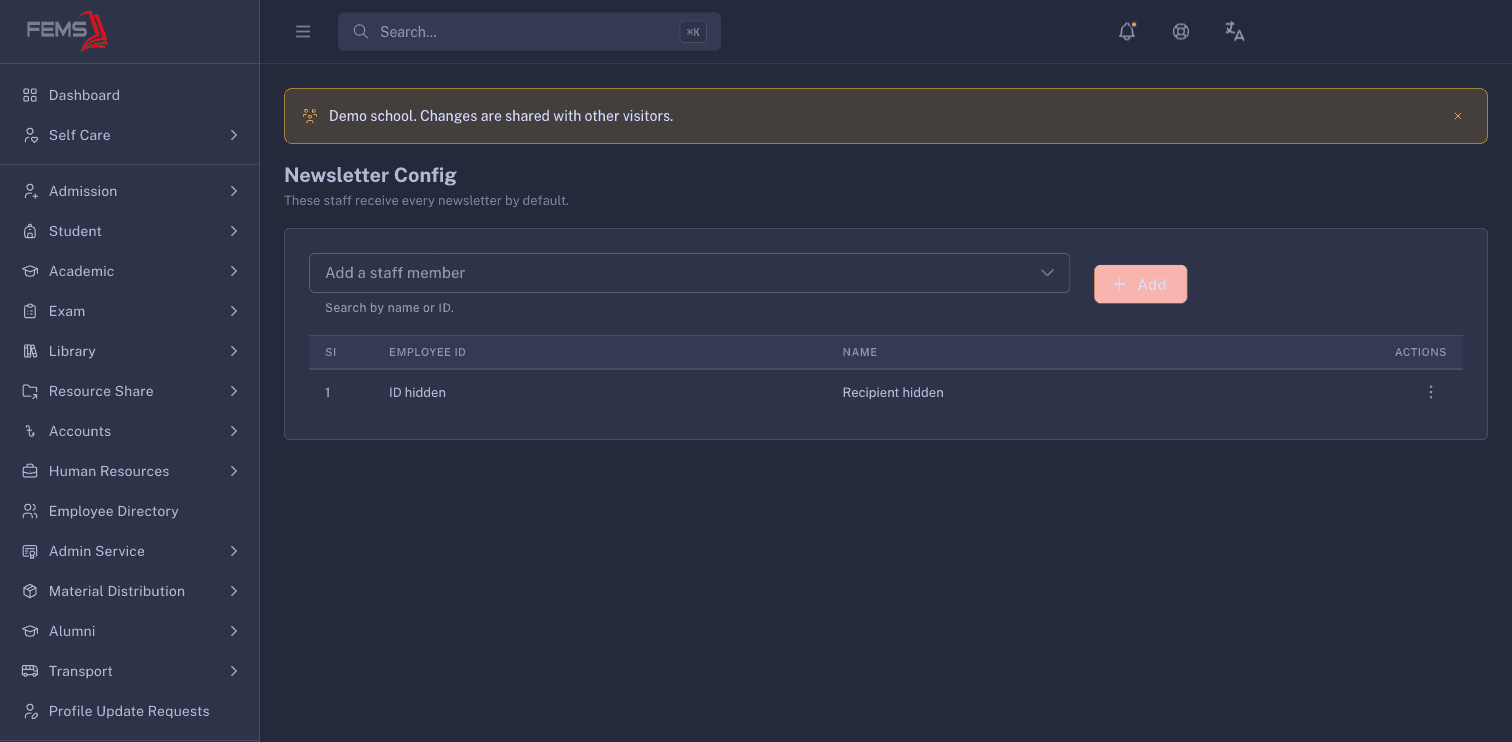
Check default recipients
Default recipients receive every newsletter in addition to the audience chosen in the composer.
- Go to Newsletter > Newsletter Config.
- Review the recipient table before scheduling a newsletter.
- To add an employee, use Add a staff member and search by name or ID.
- Select the employee, then click Add.
Compose a newsletter
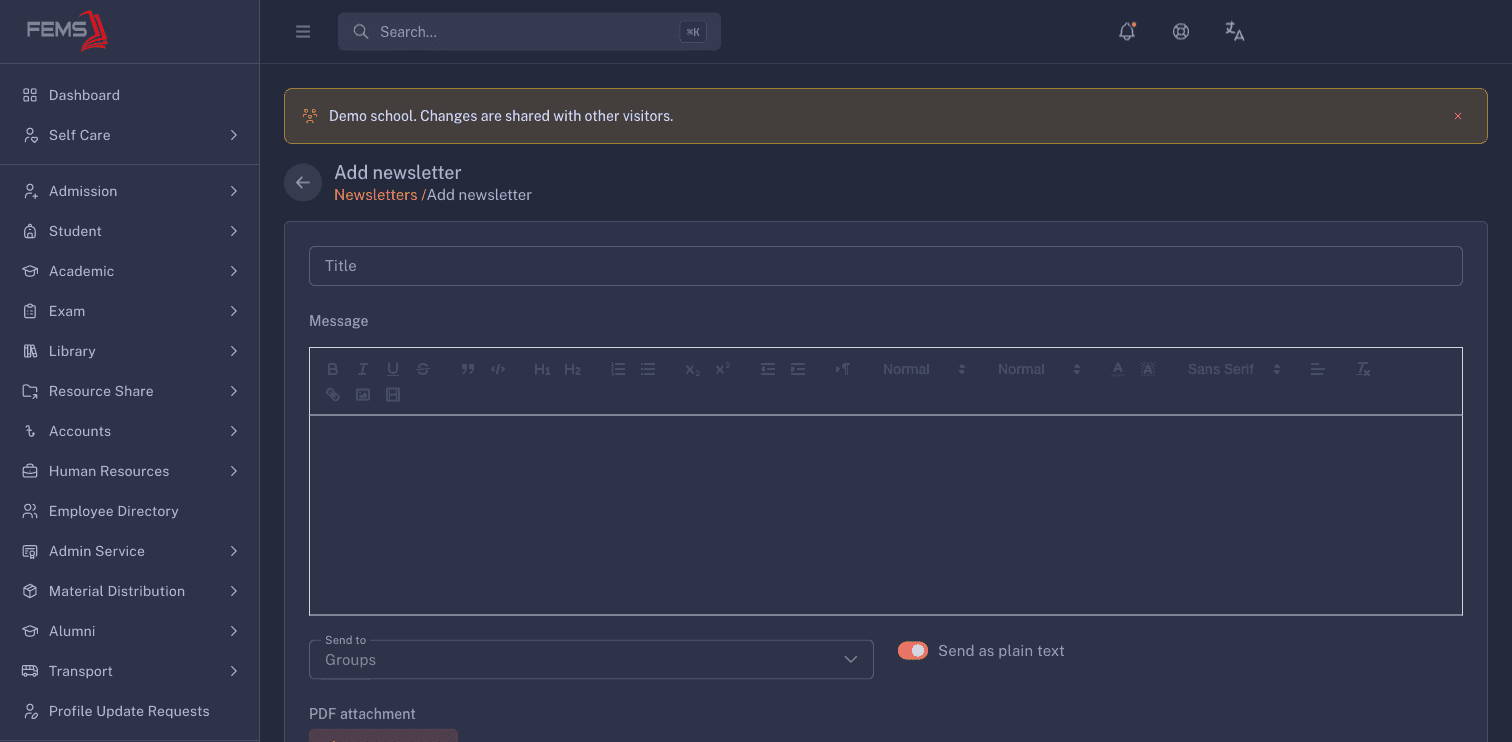
- Go to Newsletter > Add newsletter. You can also open Newsletter and click Add Newsletter.
- Enter a clear Title.
- Leave Send as plain text on to write a Message. You can optionally click Upload PDF to attach a PDF up to 10 MB.
- Turn Send as plain text off to send an image instead. Click Upload Image and choose a JPG or PNG up to 2 MB. The image is required in this mode.
- Use Send to to choose one recipient method:
- Groups: select Students, Employees, Parents, or Alumni. You can also use Also send to specific people.
- Individuals: choose a Recipient type, then use Search by name or ID.
- Email addresses: enter addresses separated by commas.
- Choose a future date and time in Send on.
- Review Status, the complete recipient scope, the message, and any attachment.
- Treat Save as an outbound action. Use it only after a communications administrator confirms the audience, status, and schedule.
Review newsletter history
- Open Newsletter.
- Review Title, Format, Audience, Sends on, Created by, and Created on.
- Click Filters to narrow the list by status.
- Open a row's action menu and click View.
- Check the audience category, current status, format, delivery state, scheduled send time, recipients, message, and attachment.
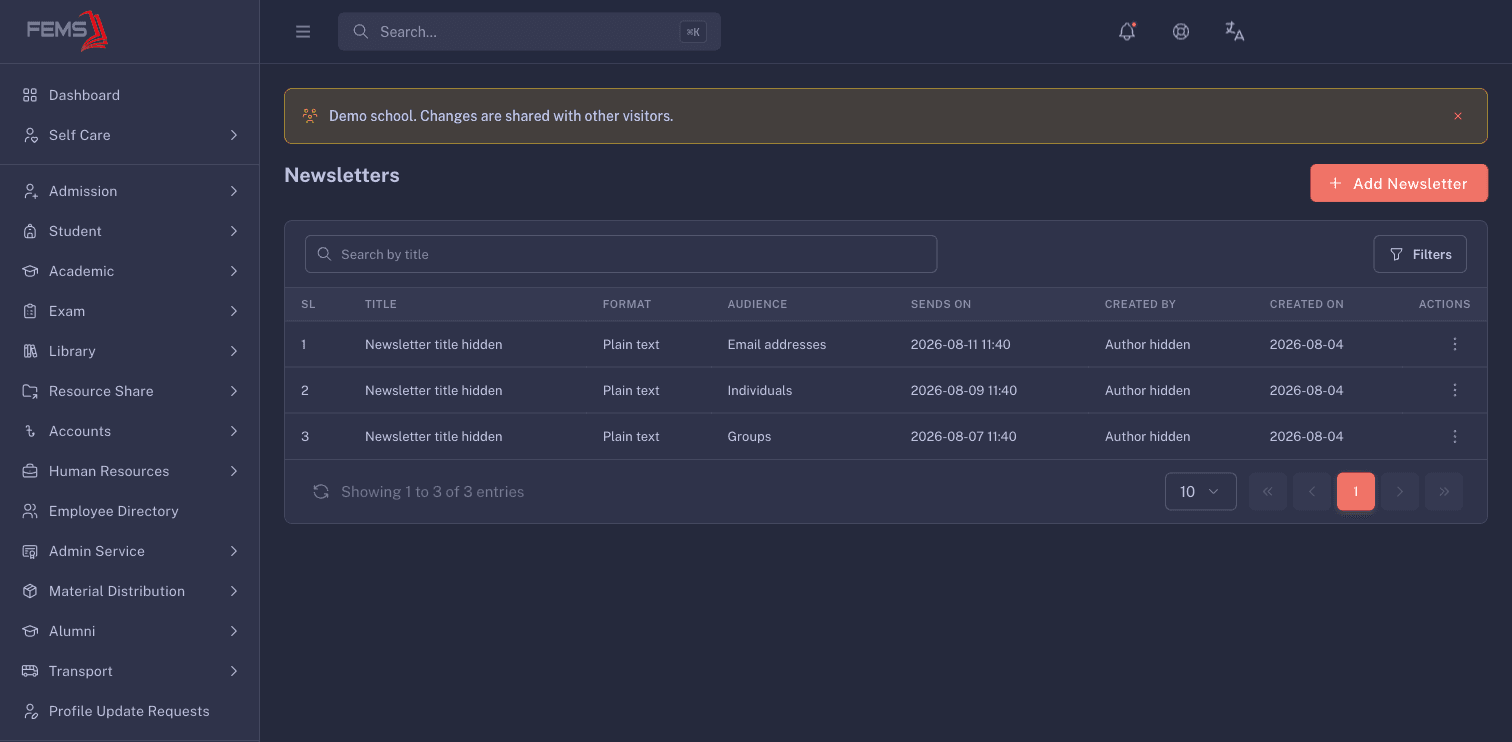
Pending rows can show Edit and Delete. Check the title before choosing either action.
FAQ
Can I send to more than one group? Yes. In Groups, select each audience that should receive the newsletter.
Can I add a PDF to a plain-text newsletter? Yes. Use Upload PDF and choose a PDF up to 10 MB.
Why did the message field disappear? You turned Send as plain text off. That mode sends a JPG or PNG image instead.
Who receives every newsletter? Employees listed in Newsletter Config receive every newsletter by default.
Where can I check what was scheduled? Open Newsletter, then use View from the row action menu.