Posting and printing notices
Publish a notice to a target audience and print it from the notice board.
Use the Notice Board to publish school-wide announcements. Post a title, category, message, and target audience, then edit, print, or remove it later from the same list.
Prerequisites
Notices are typically created and managed by admin or office staff.
What you'll find on this page
The Notice Board shows every posted notice in one list. From here you can create a notice, edit or view an existing one, delete one, and print a notice from its view screen.
The notice list
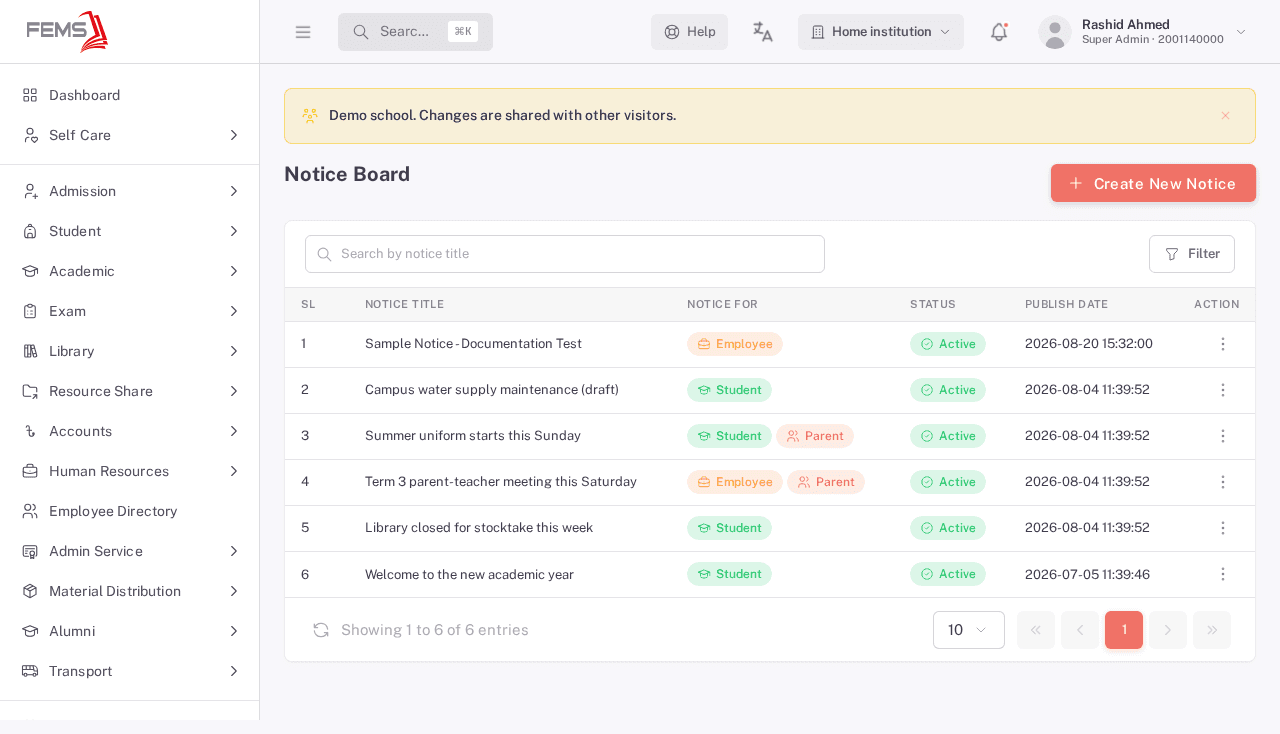
Each row shows the notice title, who it's for, its status, and when it was published. Click Create New Notice to add one.
Creating a notice
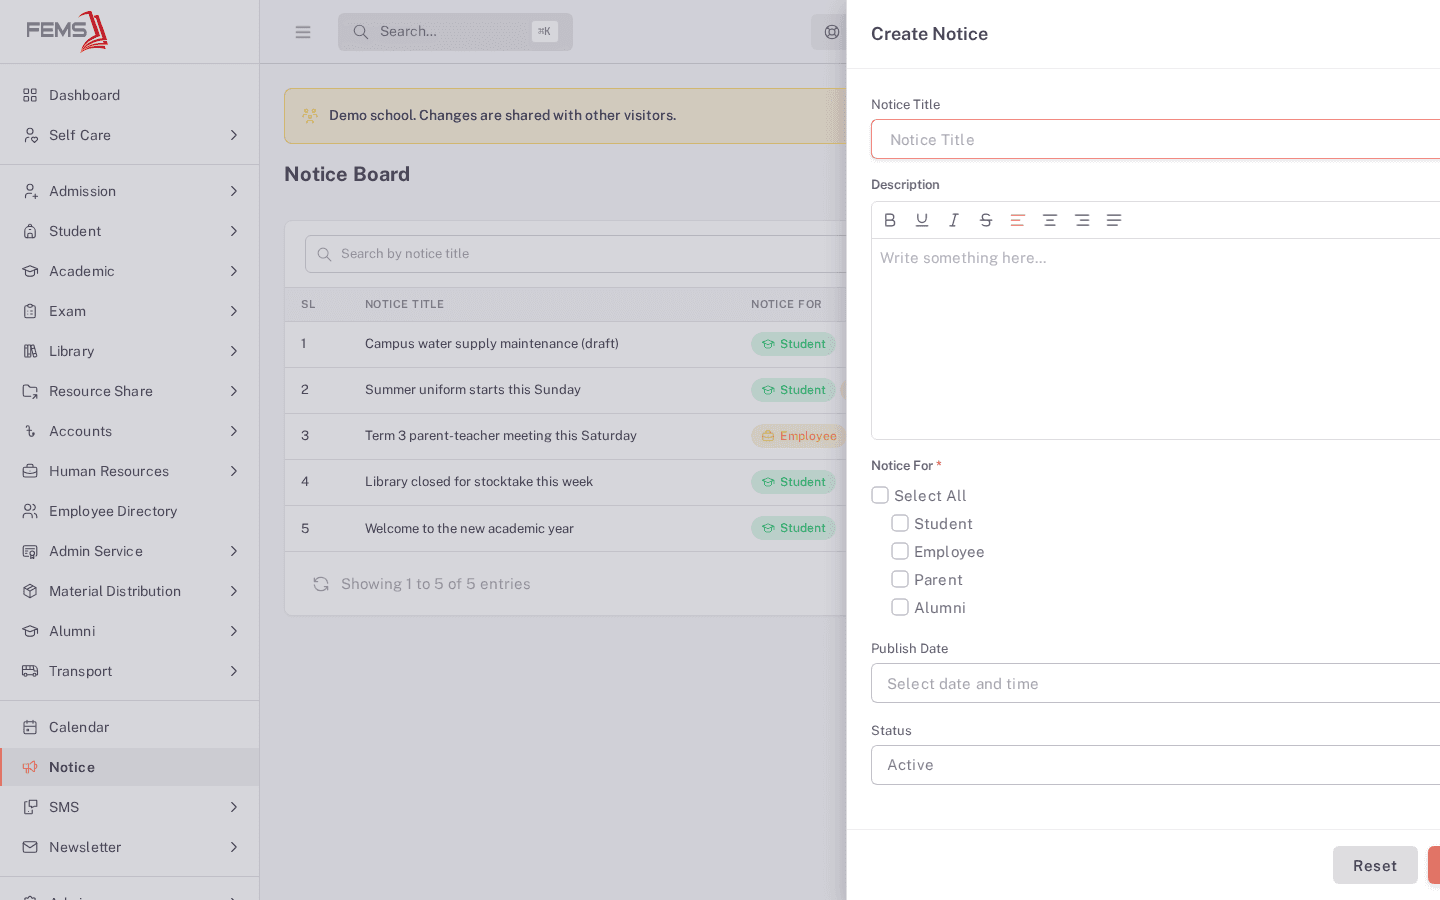
- Click Create New Notice.
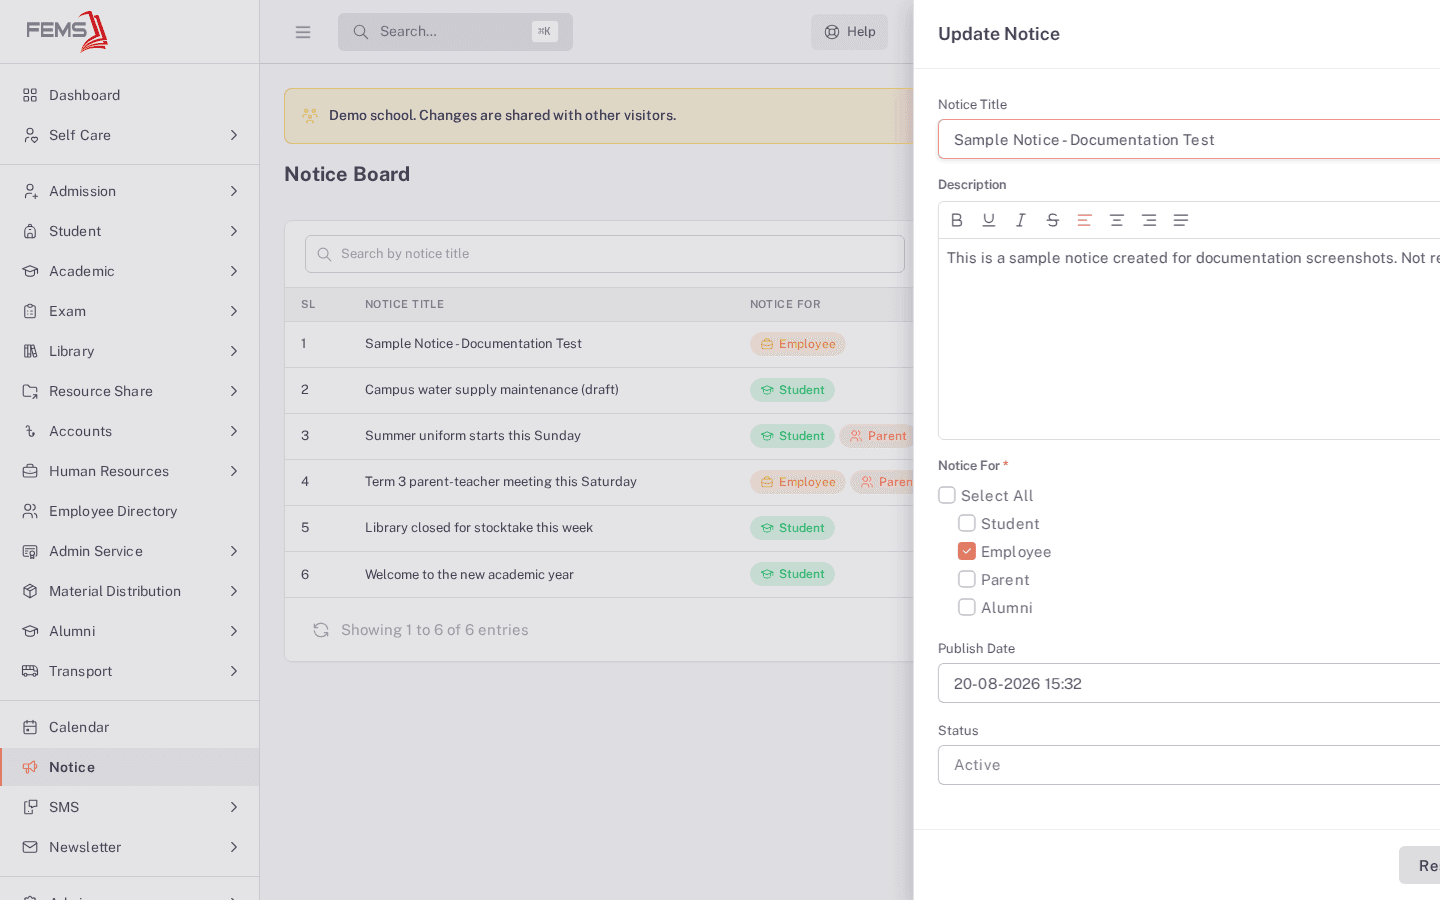
- Enter a Notice Title.
- Write the notice body under Description.
- Choose a Category: Exam, Event, Academic, or General.
- Under Notice For, tick at least one audience: Student, Employee, Parent, or Alumni (or Select All for every audience).
- Choose a Publish Date and time.
- Set the Status to Active or Inactive.
- Click Submit.
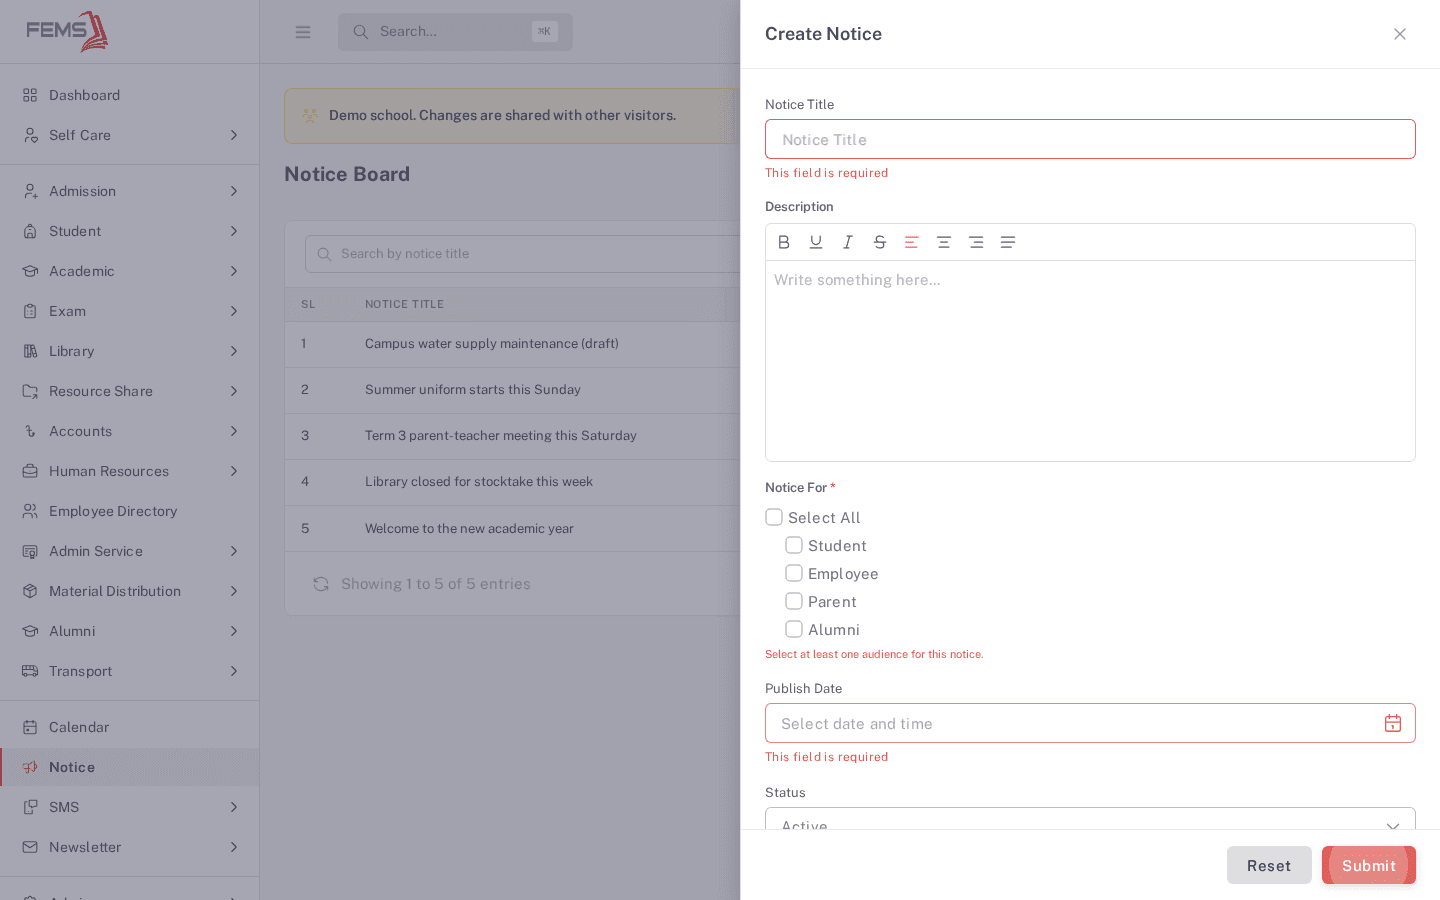
If you submit without filling in a required field, the form shows an error under each one, including "Select at least one audience for this notice." under Notice For.
You'll see the new notice added to the list once it saves.
Editing or viewing a notice
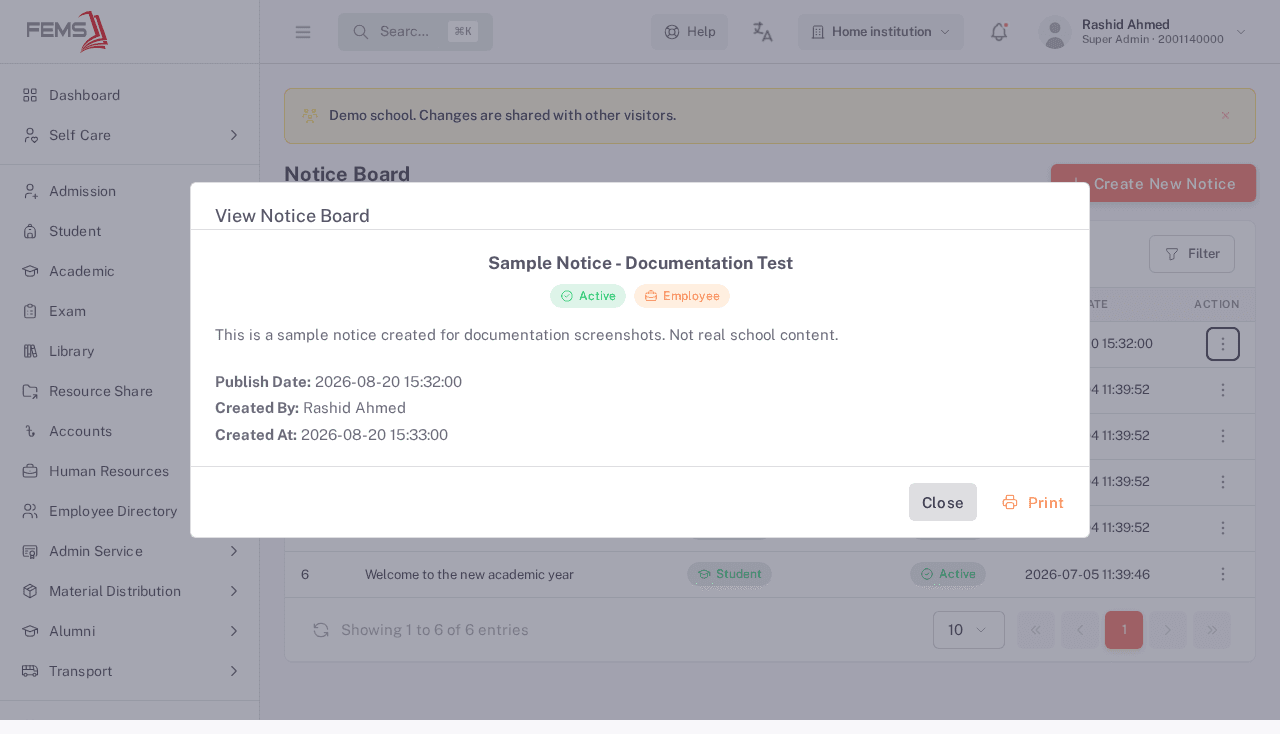
Click a notice's row to open it and read the full message, publish date, and who created it.
Use the row's action menu to Edit a notice instead, which opens the same form pre-filled with the notice's current details.
Deleting a notice
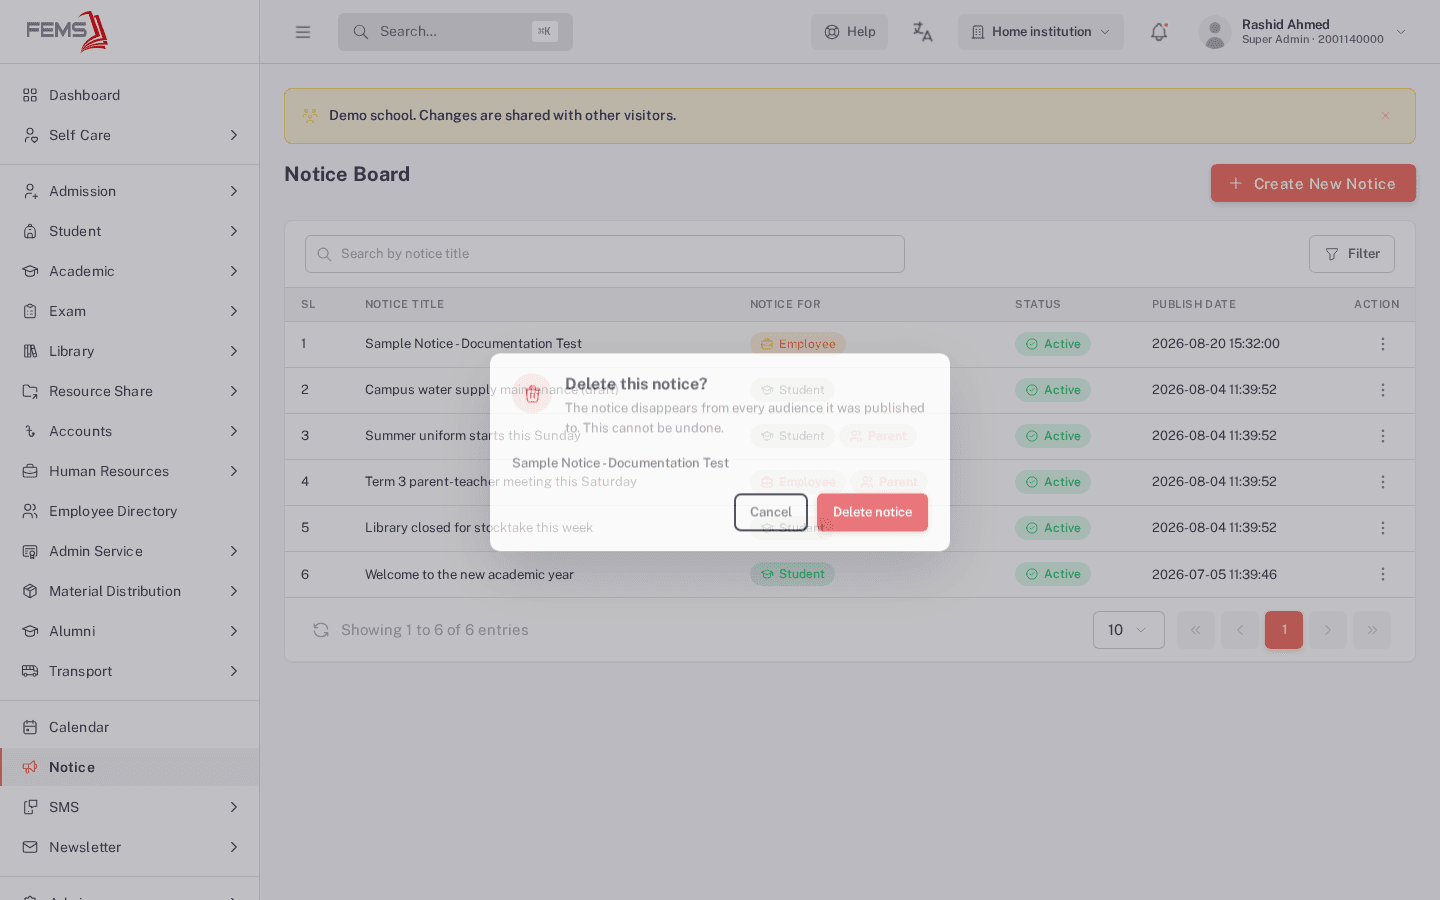
Use the row's action menu to Delete a notice. You'll be asked to confirm before it's removed.
FAQ
Who can create a notice? Admin or office staff typically handle this.
Can I choose who sees a notice? Yes. Choose a category and tick one or more audiences under Notice For when you create or edit a notice. Categories describe the notice topic. Audiences describe who receives it.
Can I edit a notice after it's published? Yes. Open its row and choose Edit from the action menu to change the title, description, audience, publish date, or status.
What happens if I delete a notice? It's removed from the board for every audience it was published to, and this can't be undone.
Can I print a notice? Yes. Open the notice from the list, then click Print in the view dialog.